


Our pocket door has been broken from the 2nd month after we moved into this house after some kids attempt to push it instead of slide it.. 😦
Well – my first attempt, after about a year of sad hanging, was changing the roller but only lasted shortly – it lasted short as the side-rail was bent and didn’t completely closed the door as door was taller than it should be – out of adjustable range
After some thoughts and research finally I decided bought the new rail set and decided to cut off the wall to exchange the rails – Journey started…
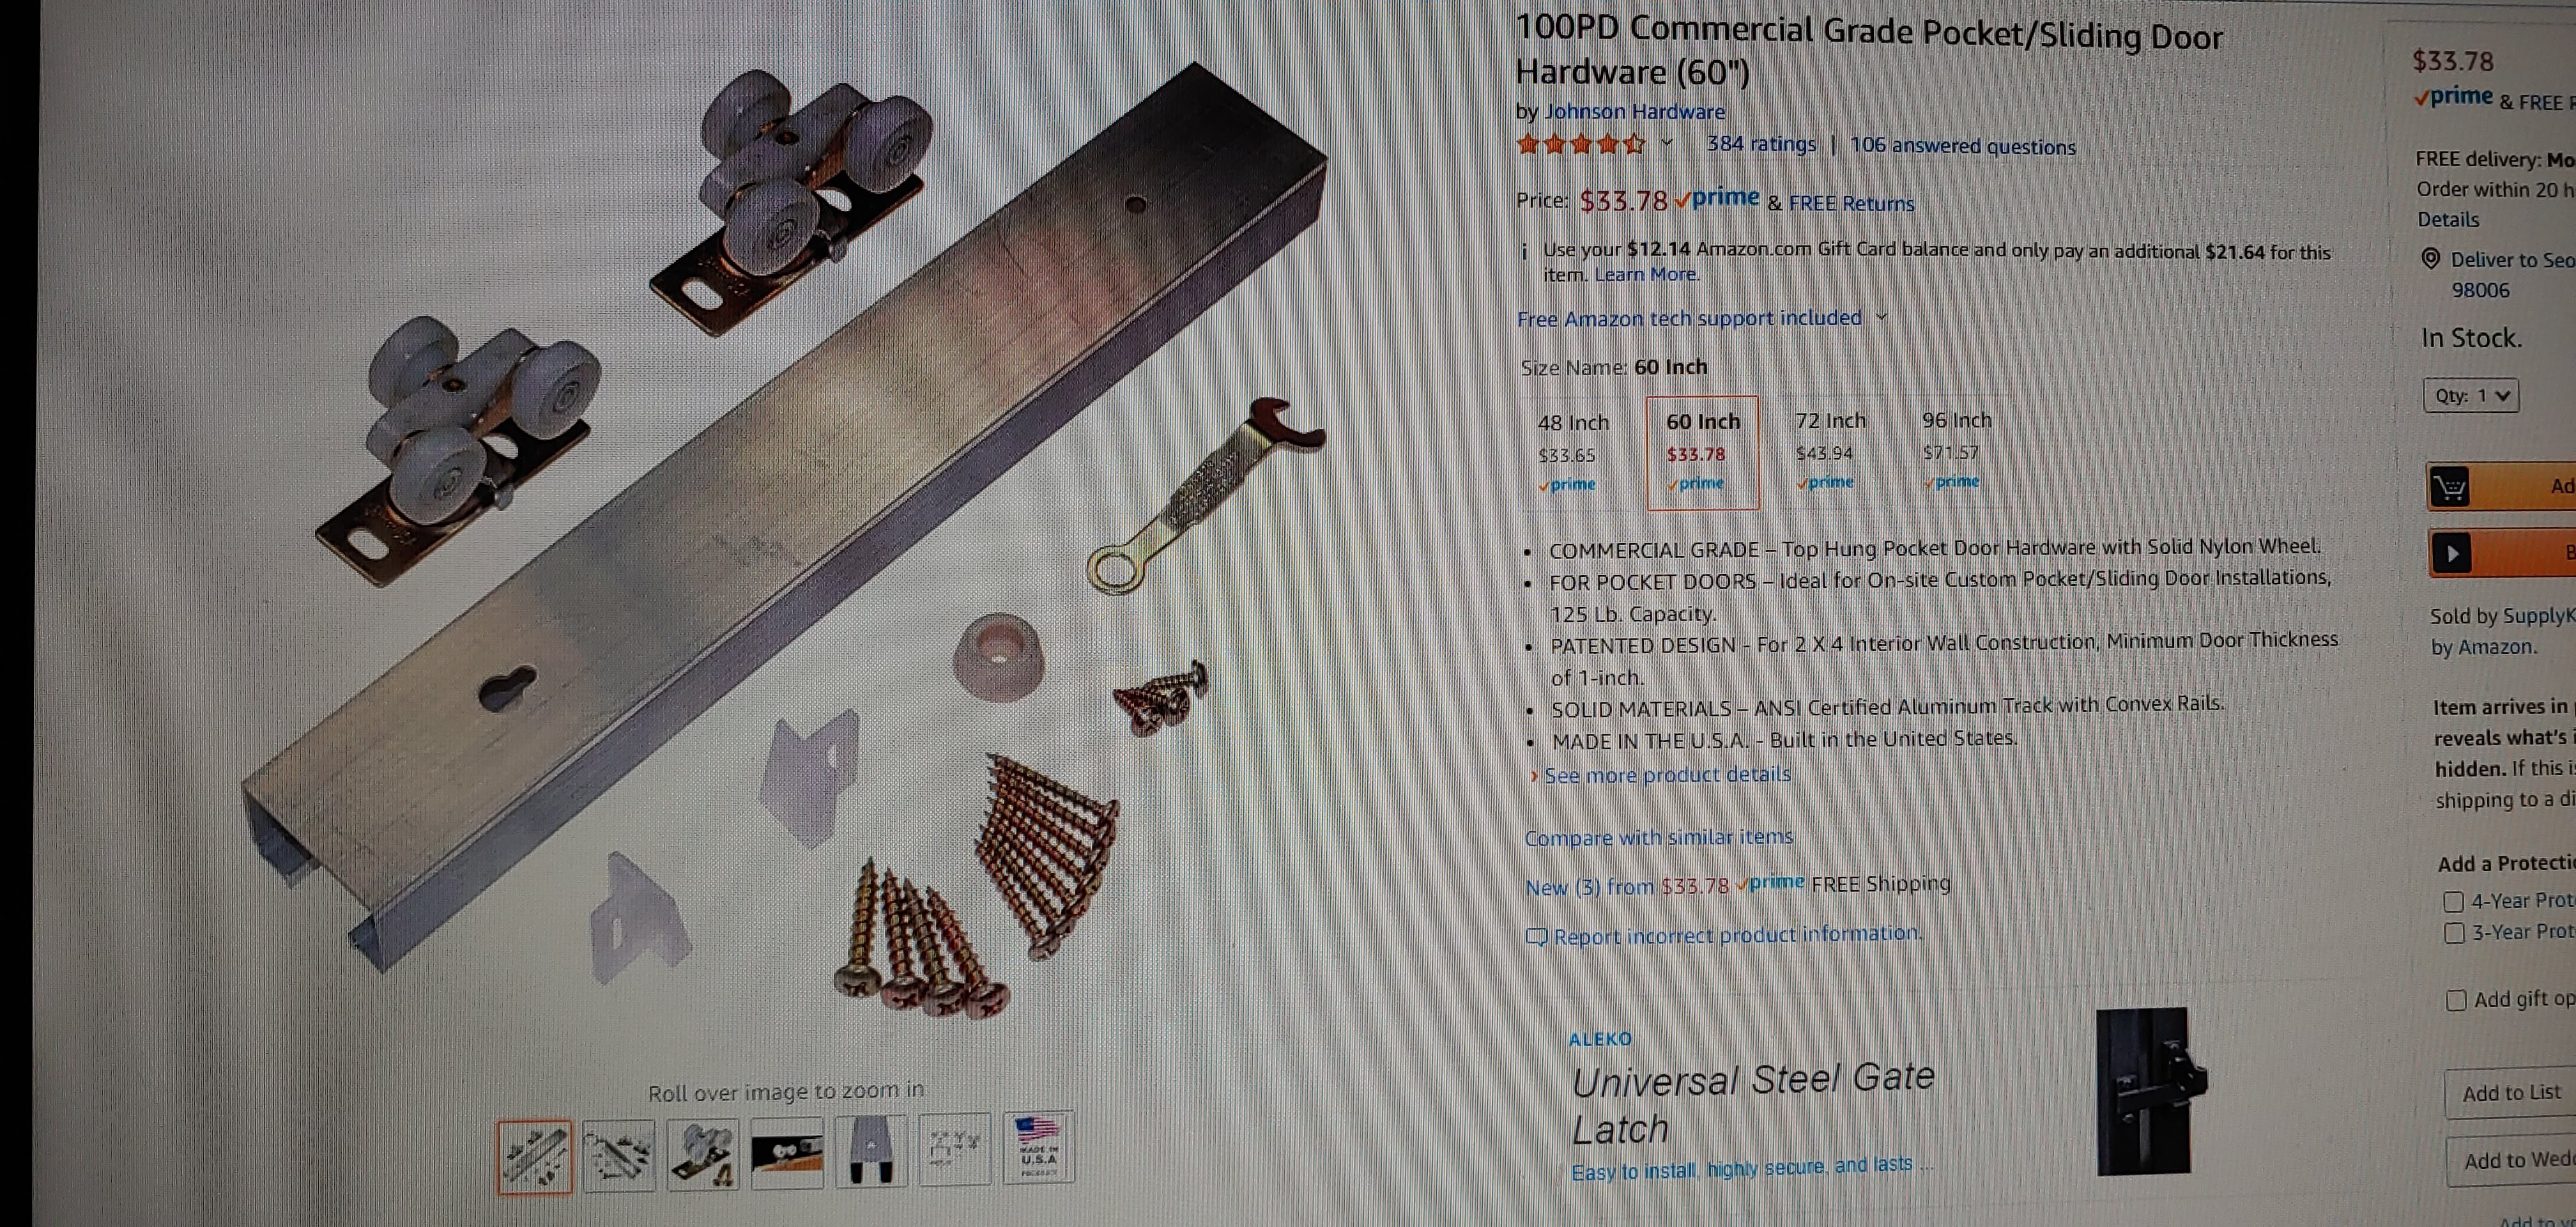
- Order a new rail set with much solid top down hanging style, some wall cutting tools, and stud finder
- Tear off the frame of the door
- Pullout the door
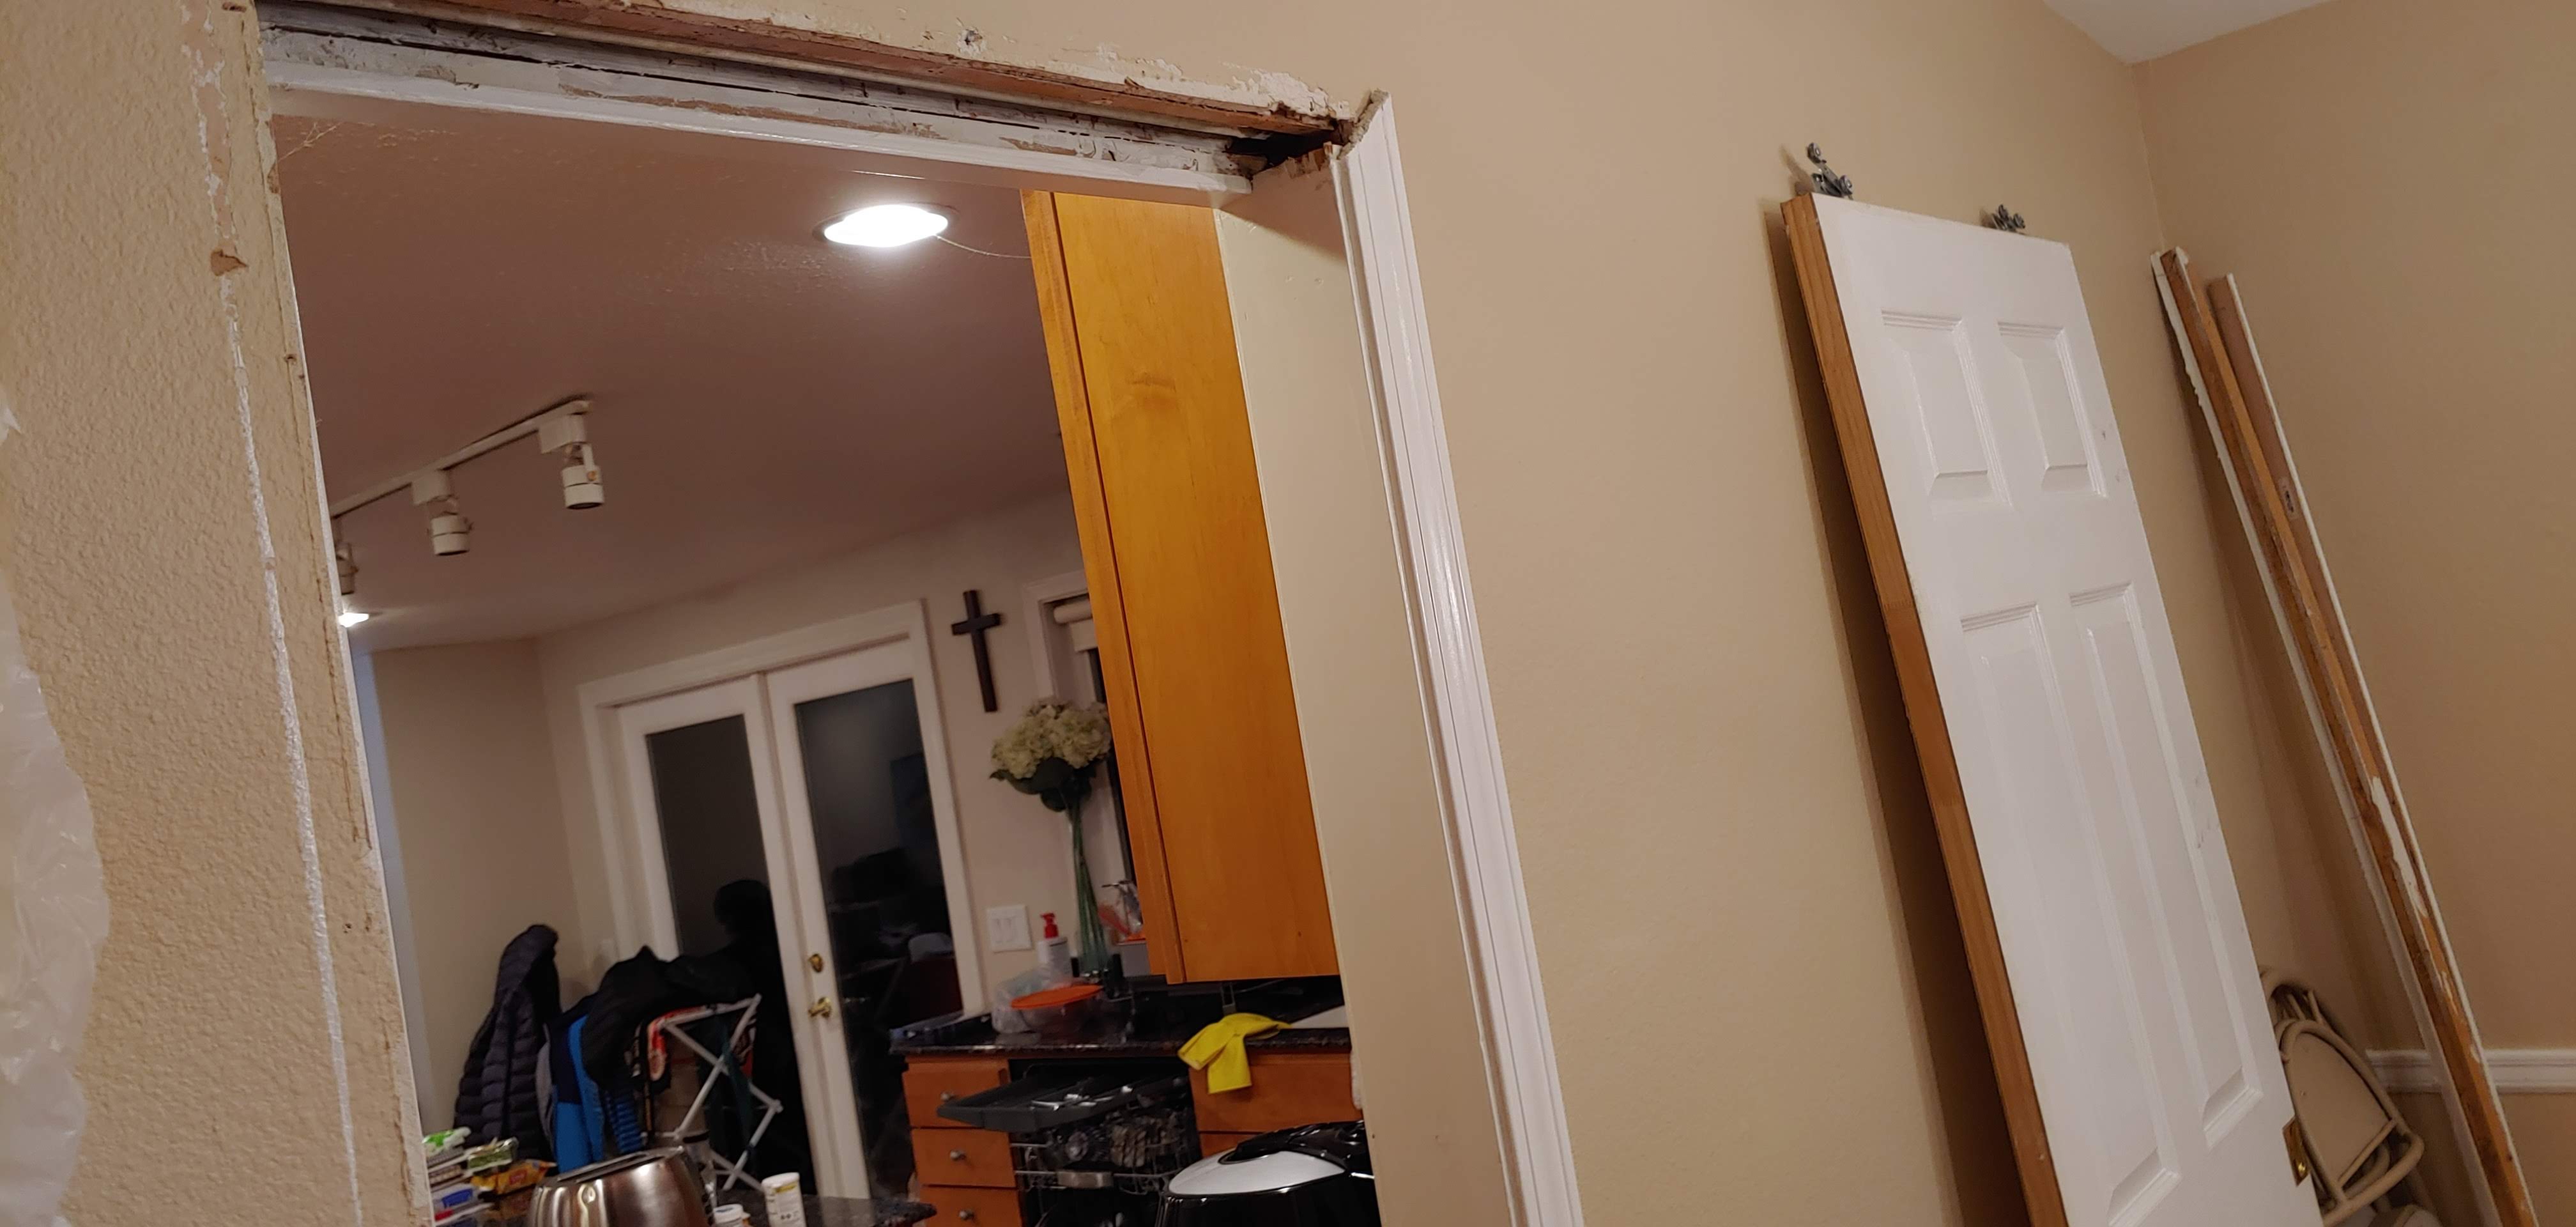
- Cut the dry wall to have some space to pullout the old rail and attach the new one
- Pullout the old hanging parts attached at the door and installed new hanging parts
- Hang it! – but failed as door did not move: New rail had a longer height so the door, which was already kind of oversize, was totally stuck at the bottom/floor. 😦
- Detach the door & hanging parts again and cut a half inch of door with saw
- Reattach the door and hanging parts
- Adjust the door for, finally, a complete close – as I reduced the height of the door now everything became ‘within range’ of adjustment on how the door hangs 🙂
- Pulled out not-working stopper & added the new stopper at the inside of the door
- Reattached the frame of the door
- Re-cover the open dry wall – attach the wood (via screw) at back of the opened spot and cover the part I pulled out and screw it down
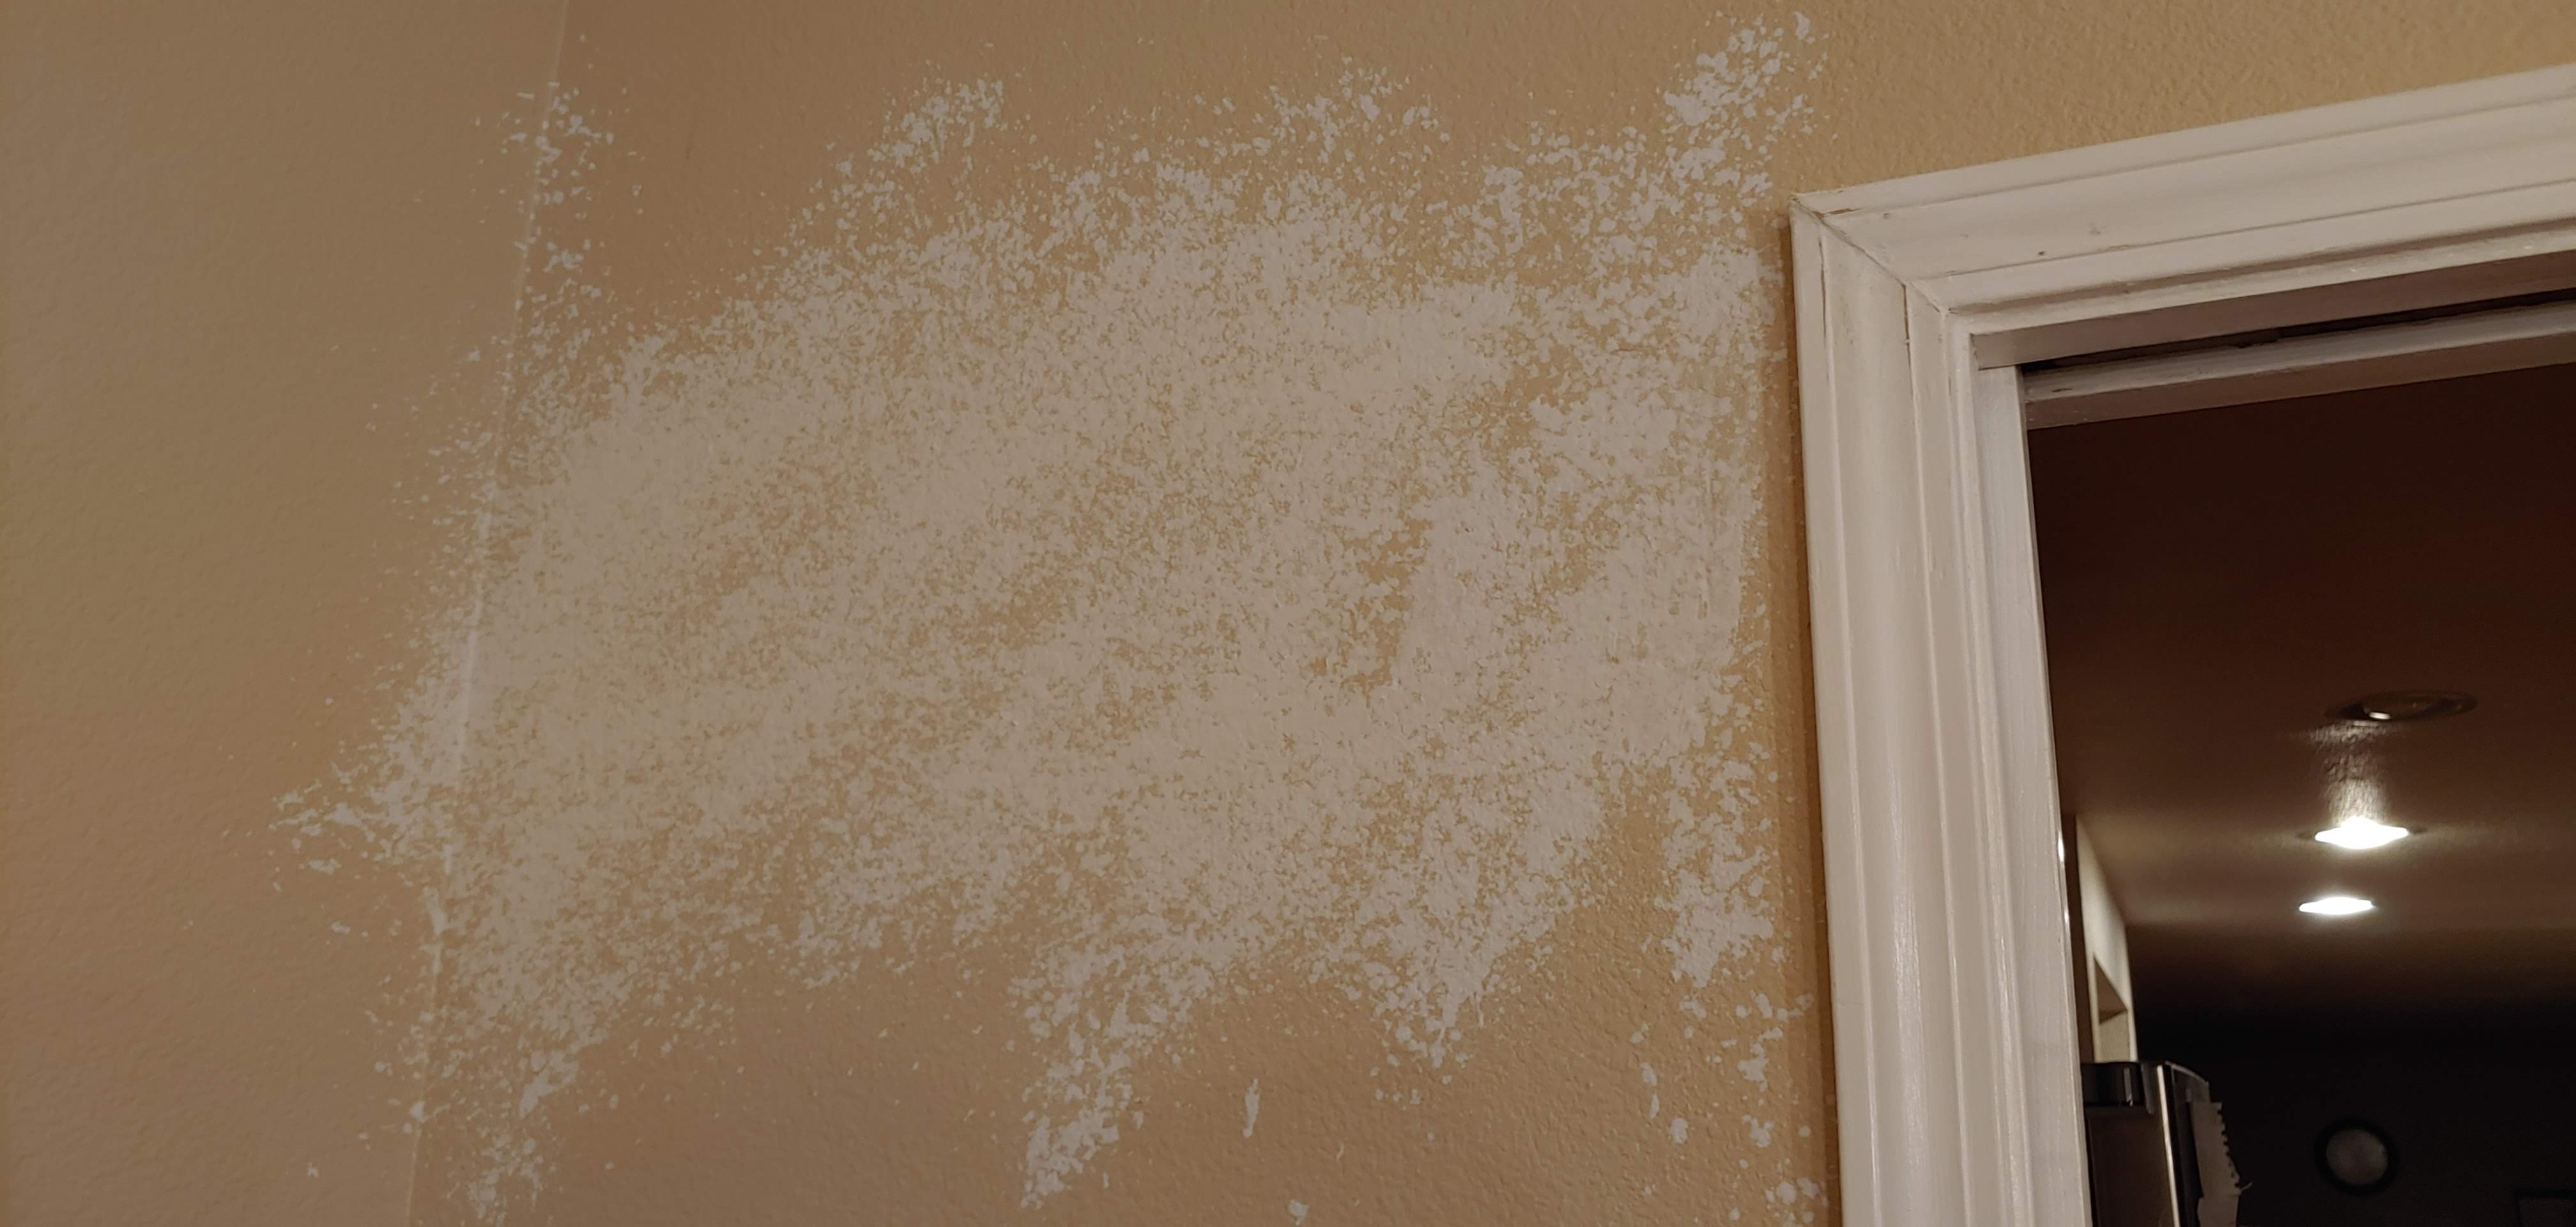
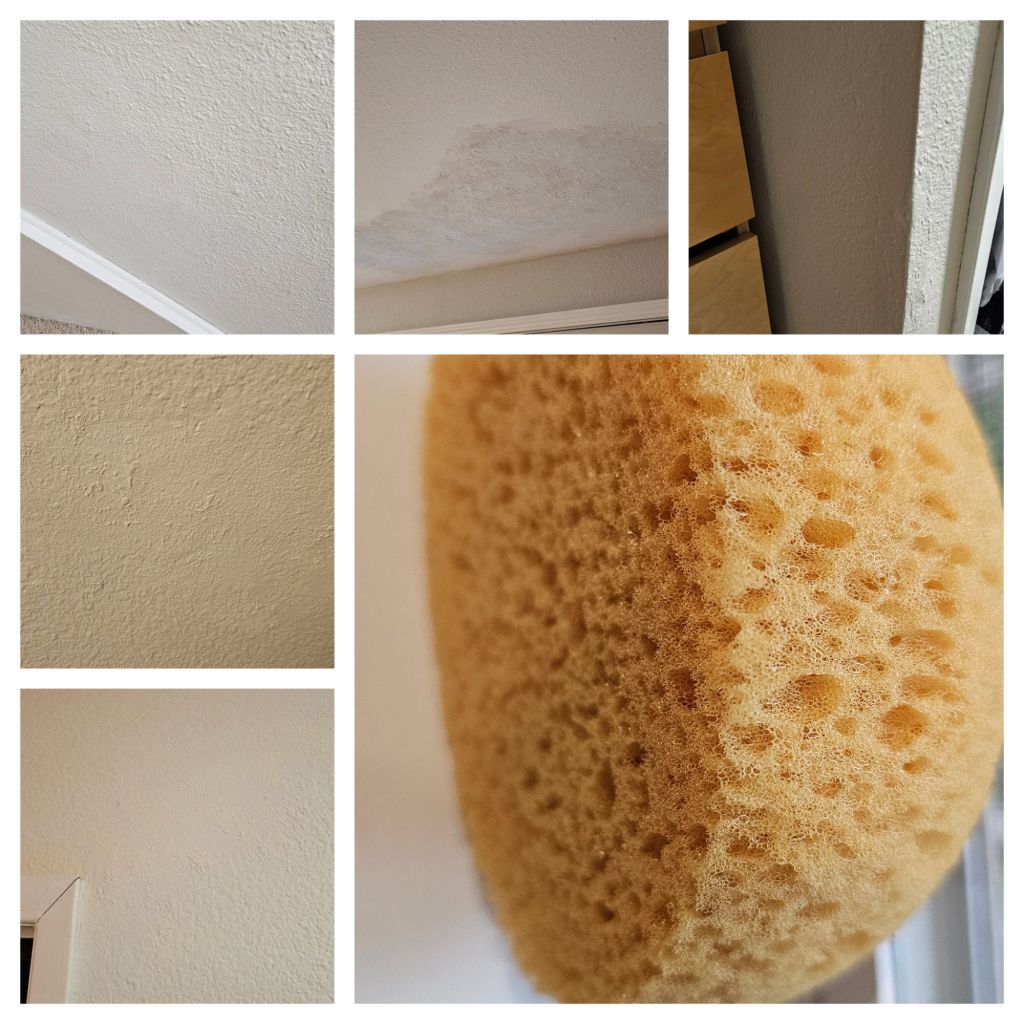
- Fill the gap with wall mud and paint – looked ugly so had to fill the gap again + add orange peel and repaint -felt like a plastic surgeon.. 🙂
- Now need some final paint touches on the bare spot revealed during this process 🙂
Ha… what a journey!
2020.1
이사온지 두달만에 애들 친구들이 와서 밀고 닫아야할 미닫이문을 밀어버리는 만행의 과정에서 망가져 마음 한편의 아픈 손가락이었던 우리집 포켓 도어 (미닫이문)… 밀고 닫는 과정에서 자꾸 레일에서 문이 이탈하고 완전히 닫히지도 않고….
몇년전엔가 한번 작심하고 롤러를 교체하는 걸로 고쳐 보려했는데 얼마안가 다시 또 실패.. 결국 레일의 문제였다.
그냥 문 뽑아내고 매꿔버릴까, (문기능 상실) 외부에 barn style 미닫이문을 달까 (혼자 뜬금없이 bran style) 고민하다가 결국 그냥 있는 문을 수리하는게 제일 보기 좋겠다고 결론 내렸다…
암튼, 결국 Youtube와 이런저런 인터넷의 정보를 조합한 결과, 레일의 문제는 교체가 답이고 교체하려면 결국 벽을 뜯어야 한다는 난관에 봉착하다… 결국 저질렀다.
- 문을 뽑아내기 위해 문frame 장식 제거
- 문을 드러내고 문옆의 벽을 뜯어냄
- 뜯어낸 벽틈으로 레일을 고정하는 나사 제거하고 레일 제거
- 새 레일 설치
- 새 레일에 맞게 문을 걸어주는 장치로 문에 설치하여주시고
- 문을 달았다.. 허나.. 새 레일이 두꺼워 문이 바닥에 걸려주심 OTL 헐…
- 결국 문을 위 아래로 조금씩 톱으로 잘라주고 걸어주셨다… 드디어 몇 년만에 미닫이문이 완벽하게 닫히기 시작..ToT
- 문 frame 다시 달아주시고… 기존의 문이 틈에 먹혀버리던 문제를 해결하기 위해 레일 안쪽에 나무한겹 + 고무하나 달아주셨다..
- 가장 문제인 뜯어진 벽 다시 붙이기.. 고정을 해주려면 결국 뒤에 나무판을 대고 나사질을 해줘야해서 나무자르고 뒤에대고 나사를 박아 주시고… 뜯은 부분을 나사로 고정해주심..
- 그랬더니 자르면서 유실된 부분을 매꿔야 함…ㅎㅎㅎ
- 벽 구멍 매꾸는 mud로 하고 texture살리는 거 뿌려주시고 페인트칠하고를 한 두세번 반복.. (성형수술..ㅎㅎㅎ)
- 뭐 이정도면 대놓고 보지 않는 이상 티 안나게끔…휴…
- 이제 남은건 문 깊이 조절하고 새 레일 설치하는 과정에서 보이게된 부분, 다시 붙인 frame중 칠이 떨어져 나간 부분들 흰색으로 마무리만 해주심 된다.
결국 몇달간을 거쳐 이것저것 사고…ToT, Youtube 보면서 연구한 결과 나름 아픈 손가락을 어쨌건 고쳤다,,휴… 그리고 이젠 왠만한 미닫이문 문제는 다 해결가능한 수준으로 등극..ㅋㅋㅋㅋ
2020.1

 hello27.net