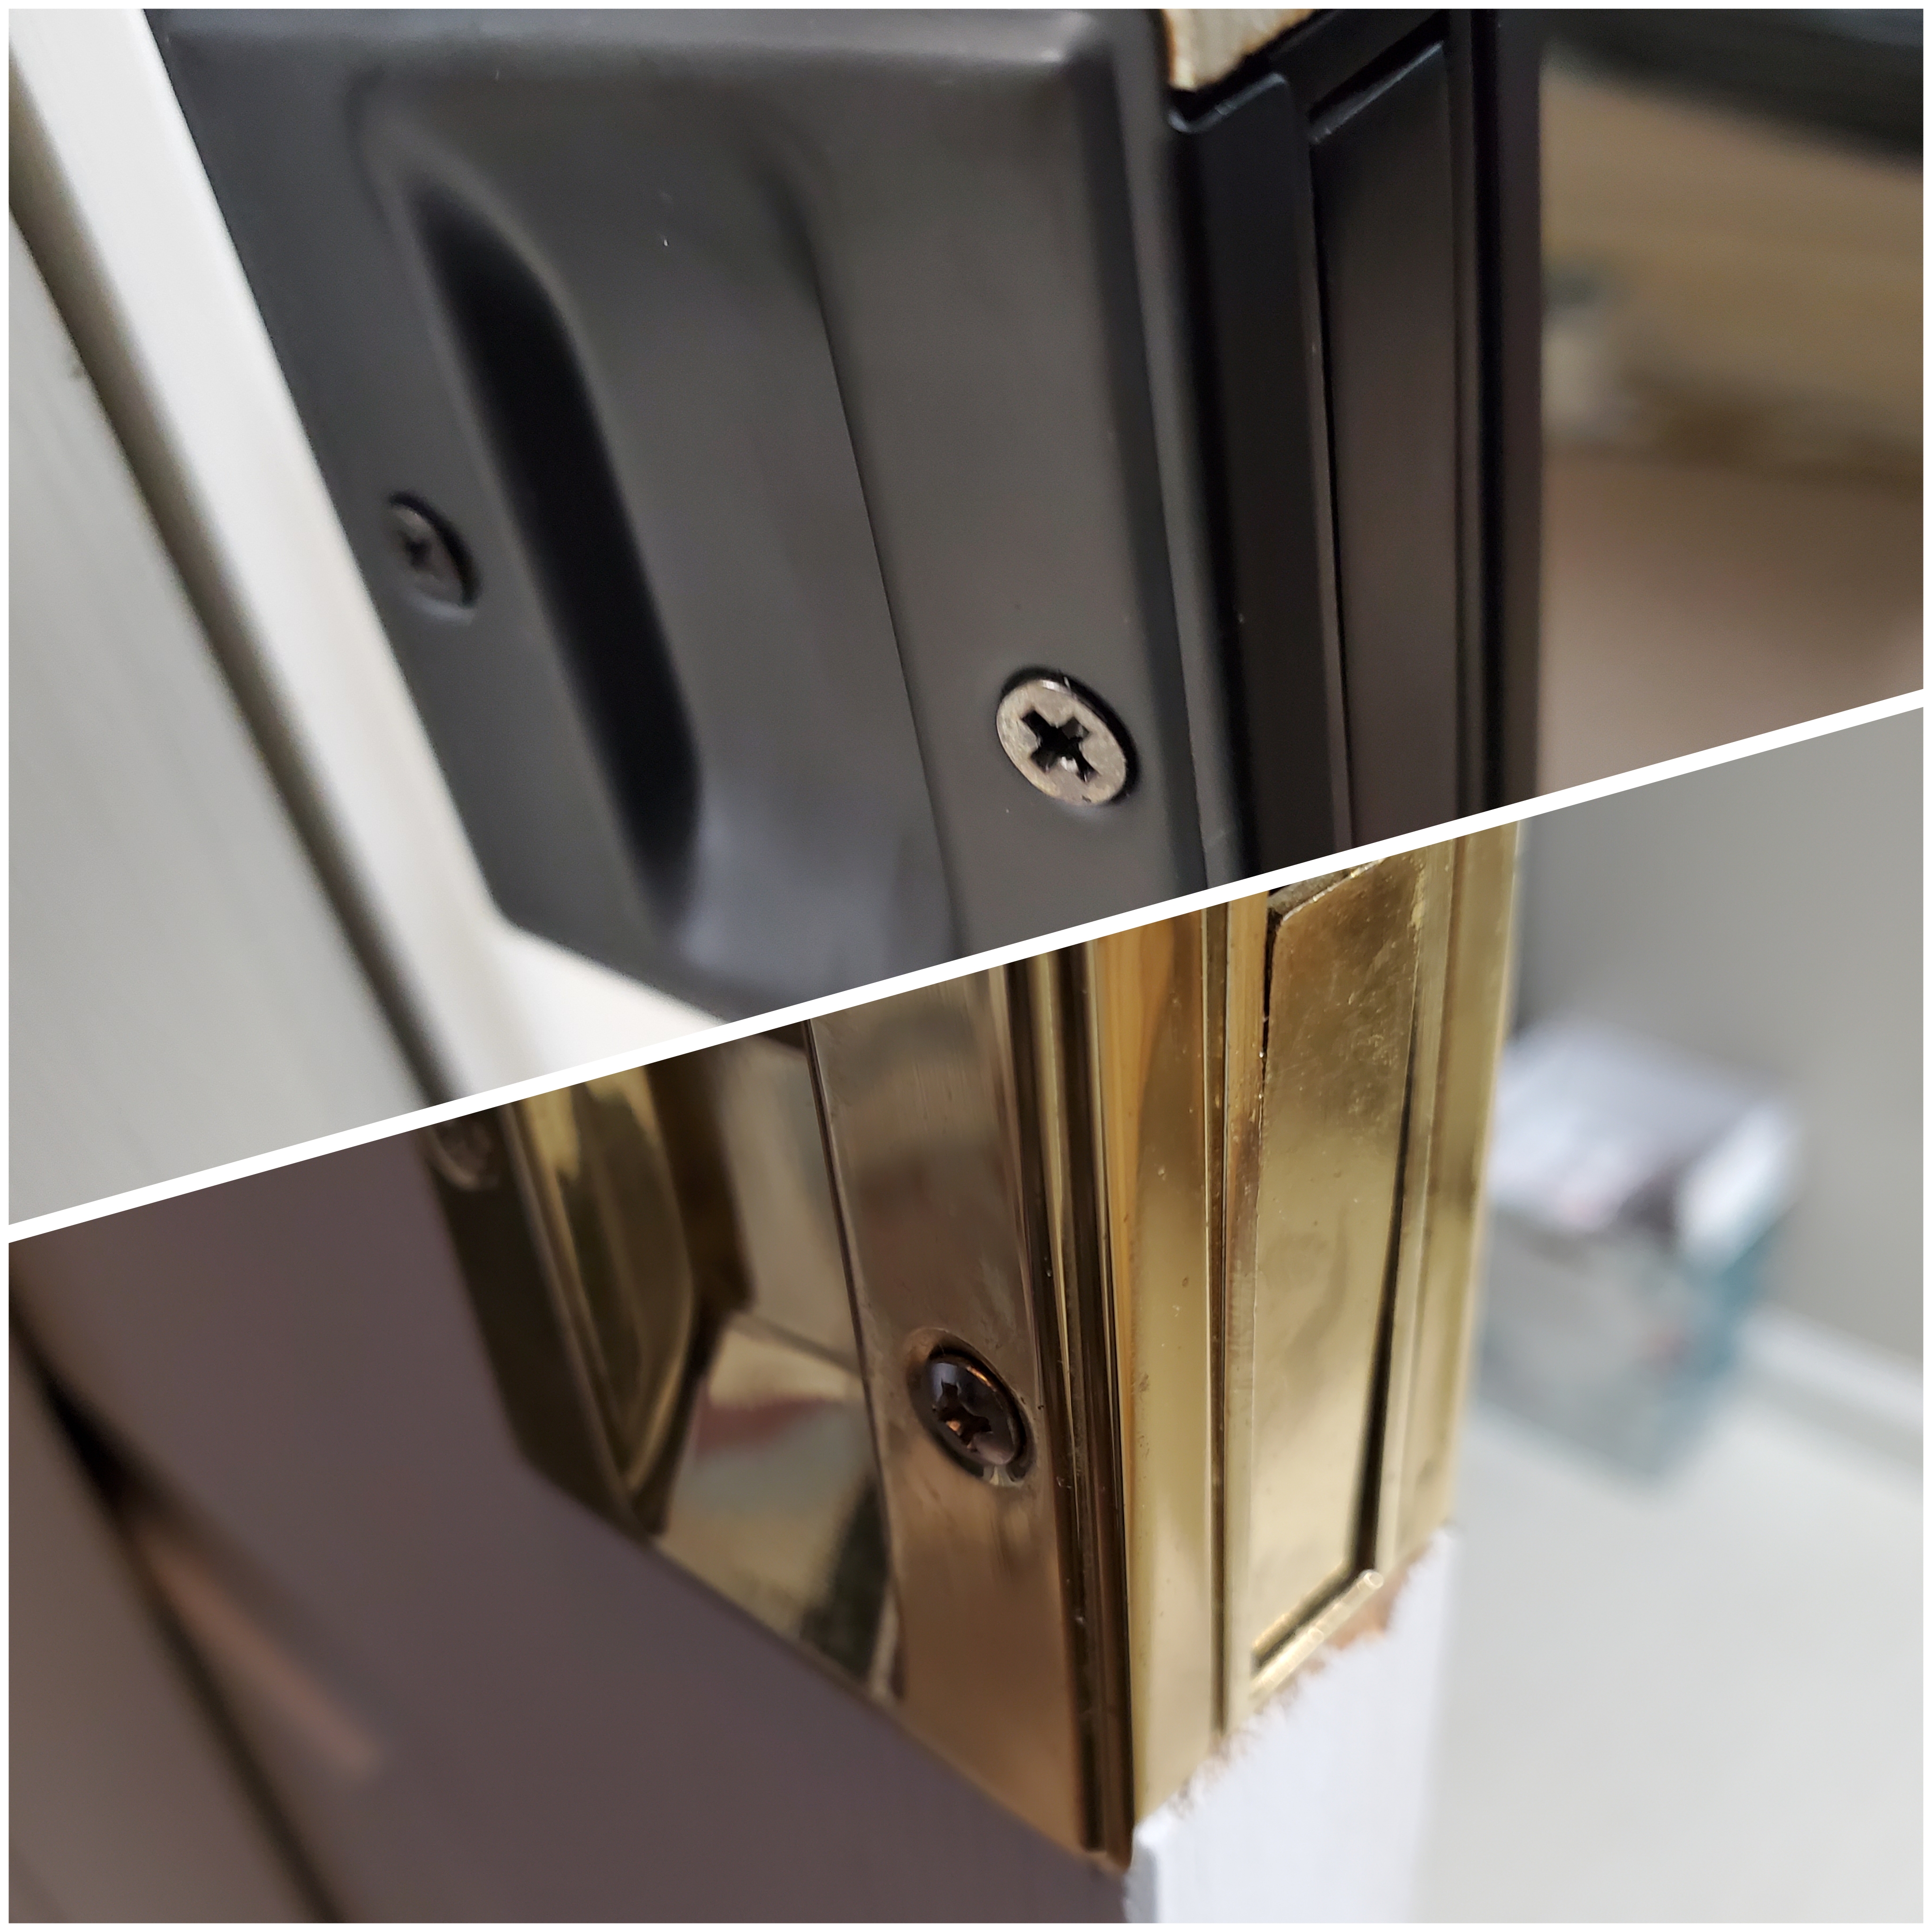
Few more stuffs to go.. and Amazon continues to win..
2023.1
사실 집 대문 손잡이 날갈때 교체하려고 봤더니 이제는 이런 금색을 파는게 아주 드믈어서 검정을 했더니 대문 하나만 하기도 애매해서 결국 짬날때마다 온집안의 Hinge와 문 손잡이들을 하나하나 씩 교체하는 중…
옛날에 처음 이사왔을땐 괜찮았는데 이제는 오래되어서 그런지 기름때도 많이 끼거나, 벗겨지려고 하거나, 흔들거리거나, 삐그덕거리는게 하나둘씩보여서 2년 rent갔다가 올 여름 다시 집에 돌아오니 오래된 티도 나고 참 거슬렸었다.
결국 Thanksgiving때 아마존 할인이 들어가길래 질렀으나 이런저런 사소한 문제해결을 하면서 (교체하고 보니 문짝이 잘 맞지 않는다등등) 노가다를 동반…ㅎㅎ 사소해 보이는 정밀공학의 첨단이다..이런건 사실 정확하게 맞추려면 결국 손으로 다 하나둘씩 봐줘야한다..ㅎㅎ
In the middle of long process of changing all the handles to new black ones…
2012.12

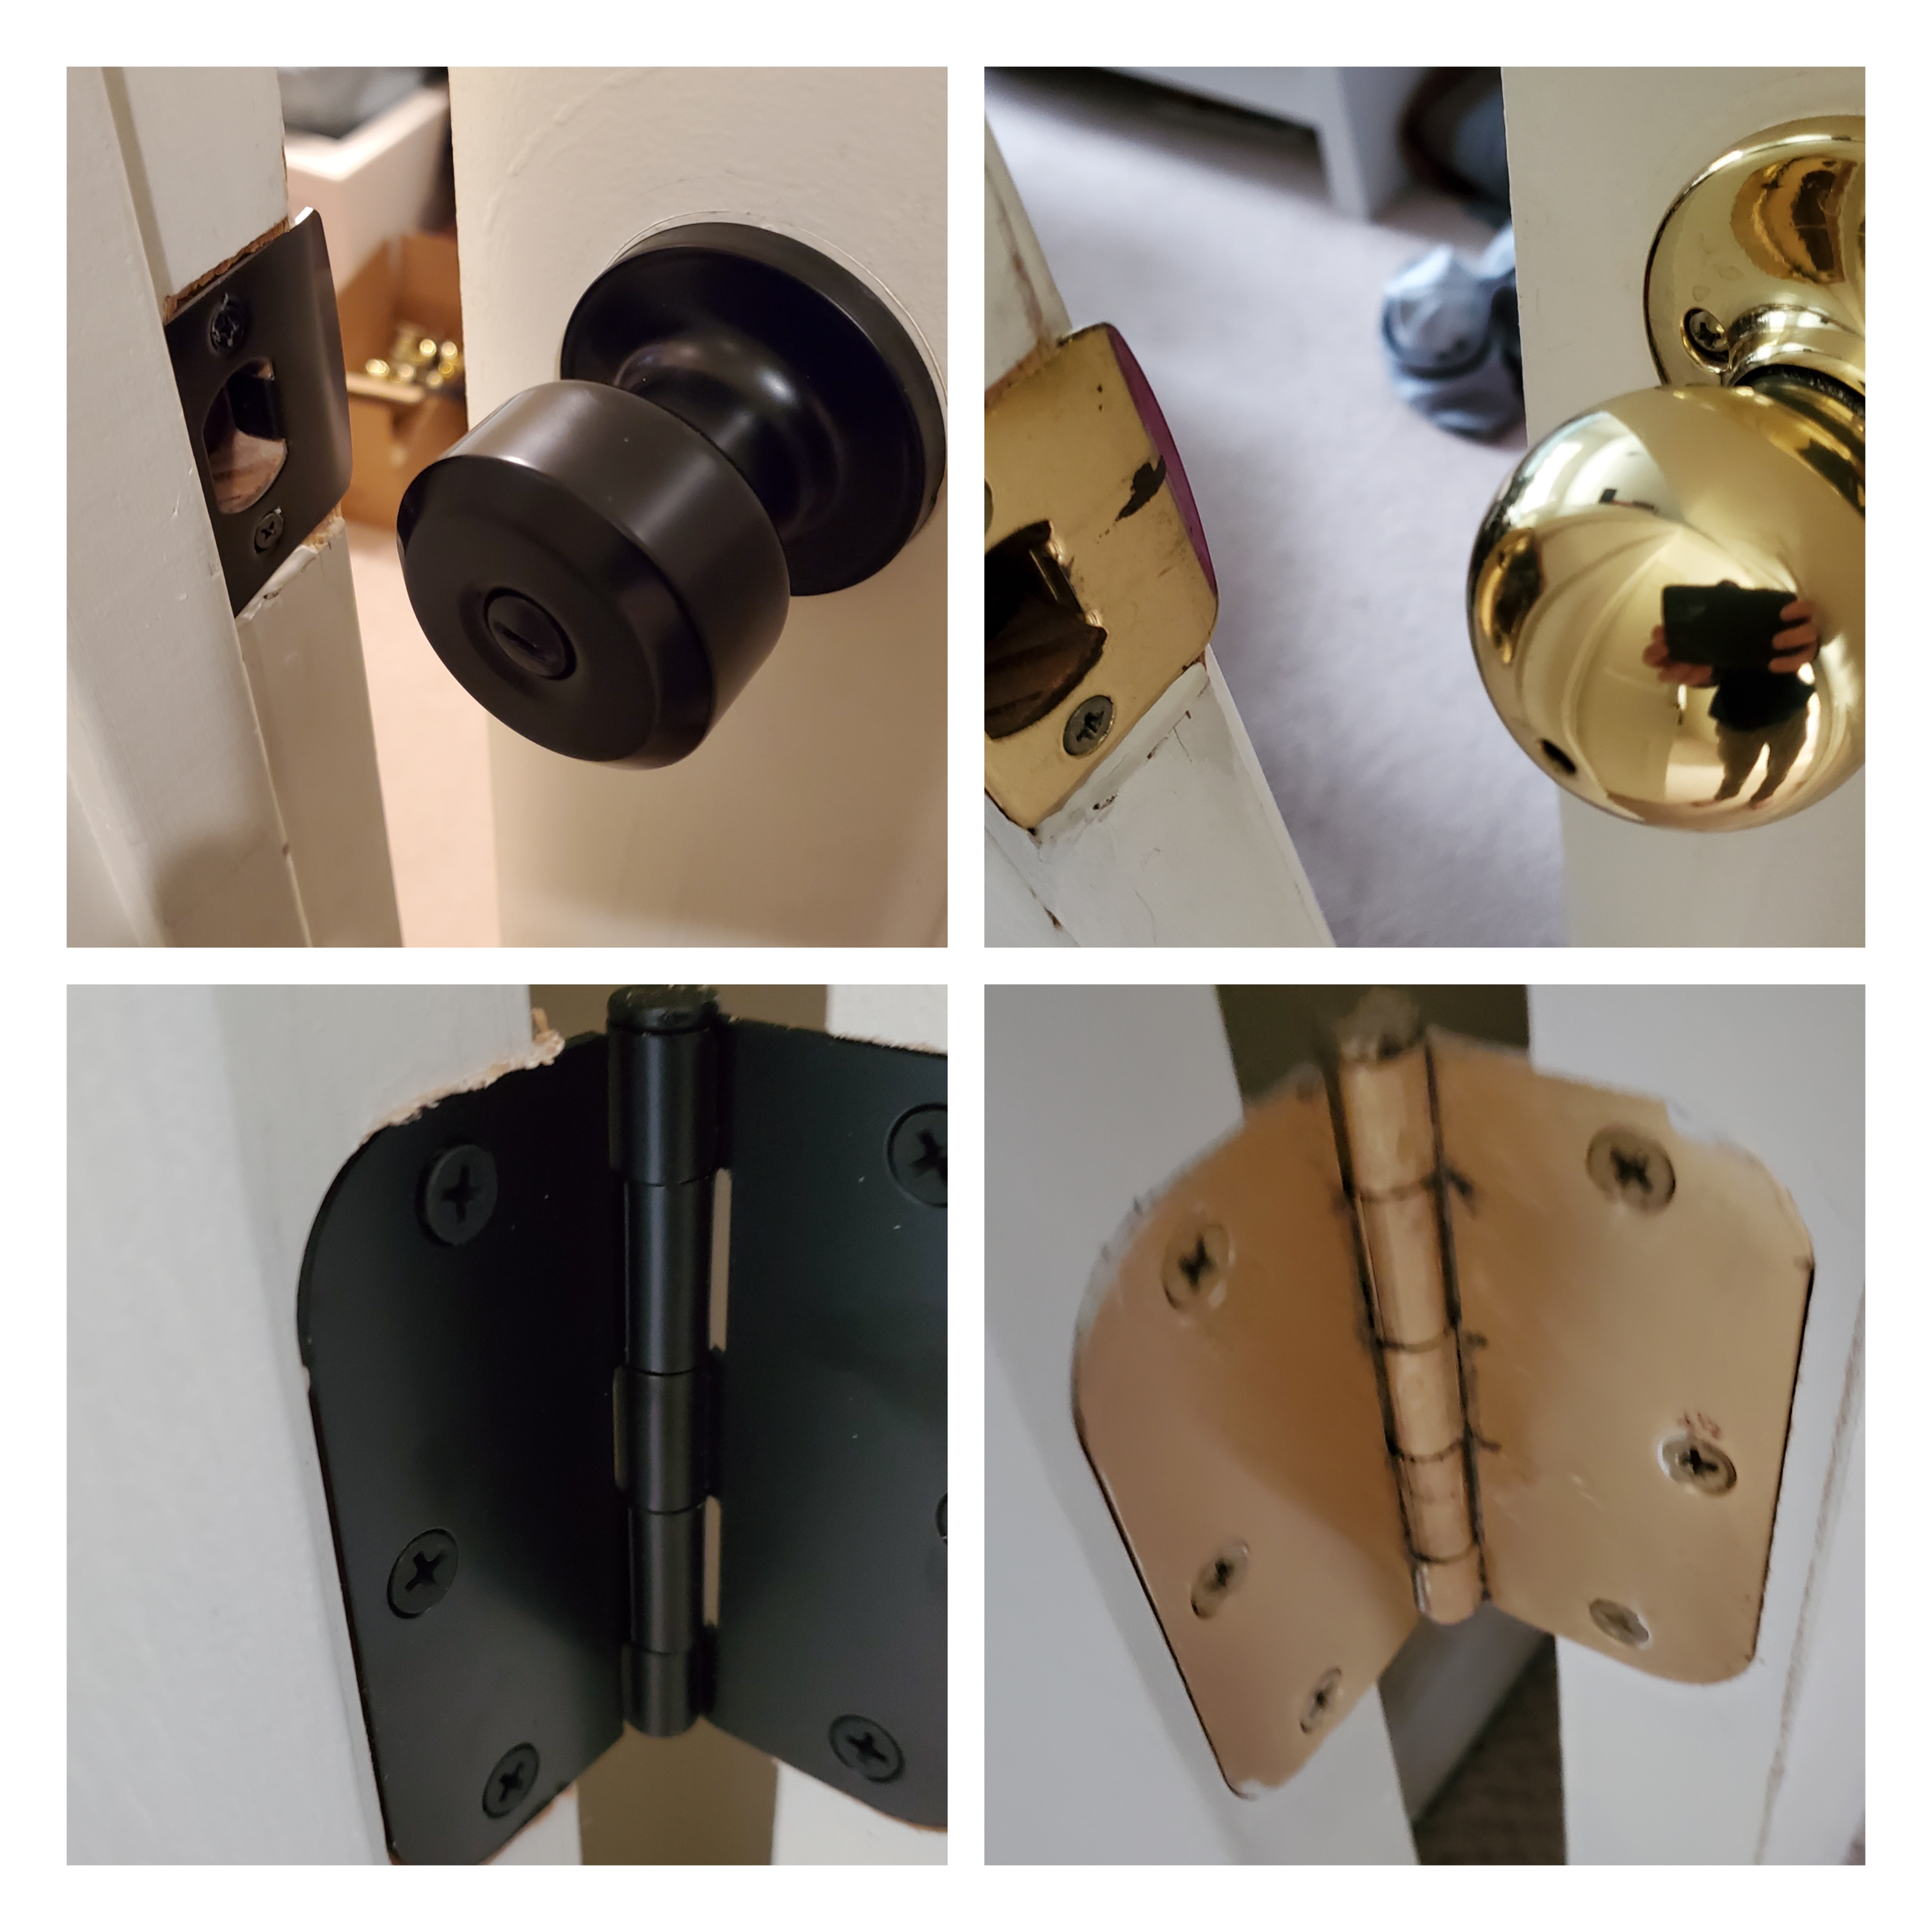
사실 이집에 처음 살때는 몰랐다가 살고 나서 몇년히 우연히 보다보니 화장실 손잡이 색이 외부와 내부가 달랐다.. 물론 나름 이유는 있다.. 바깥쪽은 모든 손잡이가 금색이고 화장실은 모든 도구가 은색이라 그래서 그랬구나란 심도 있는 이유도 있었는데…
어차피 화장실과 가장 가까운 정문 손잡이를 검정으로 바꾼 마당에 이것 또한 유지할 필요가 없어서 그냥 같이 검정으로 변경…
This has been in the check list for the long time but finally changed to new & black door knob as the closest door also changed from gold to black. 🙂
Now question is what is the next one to change & when… 🙂
2022.11
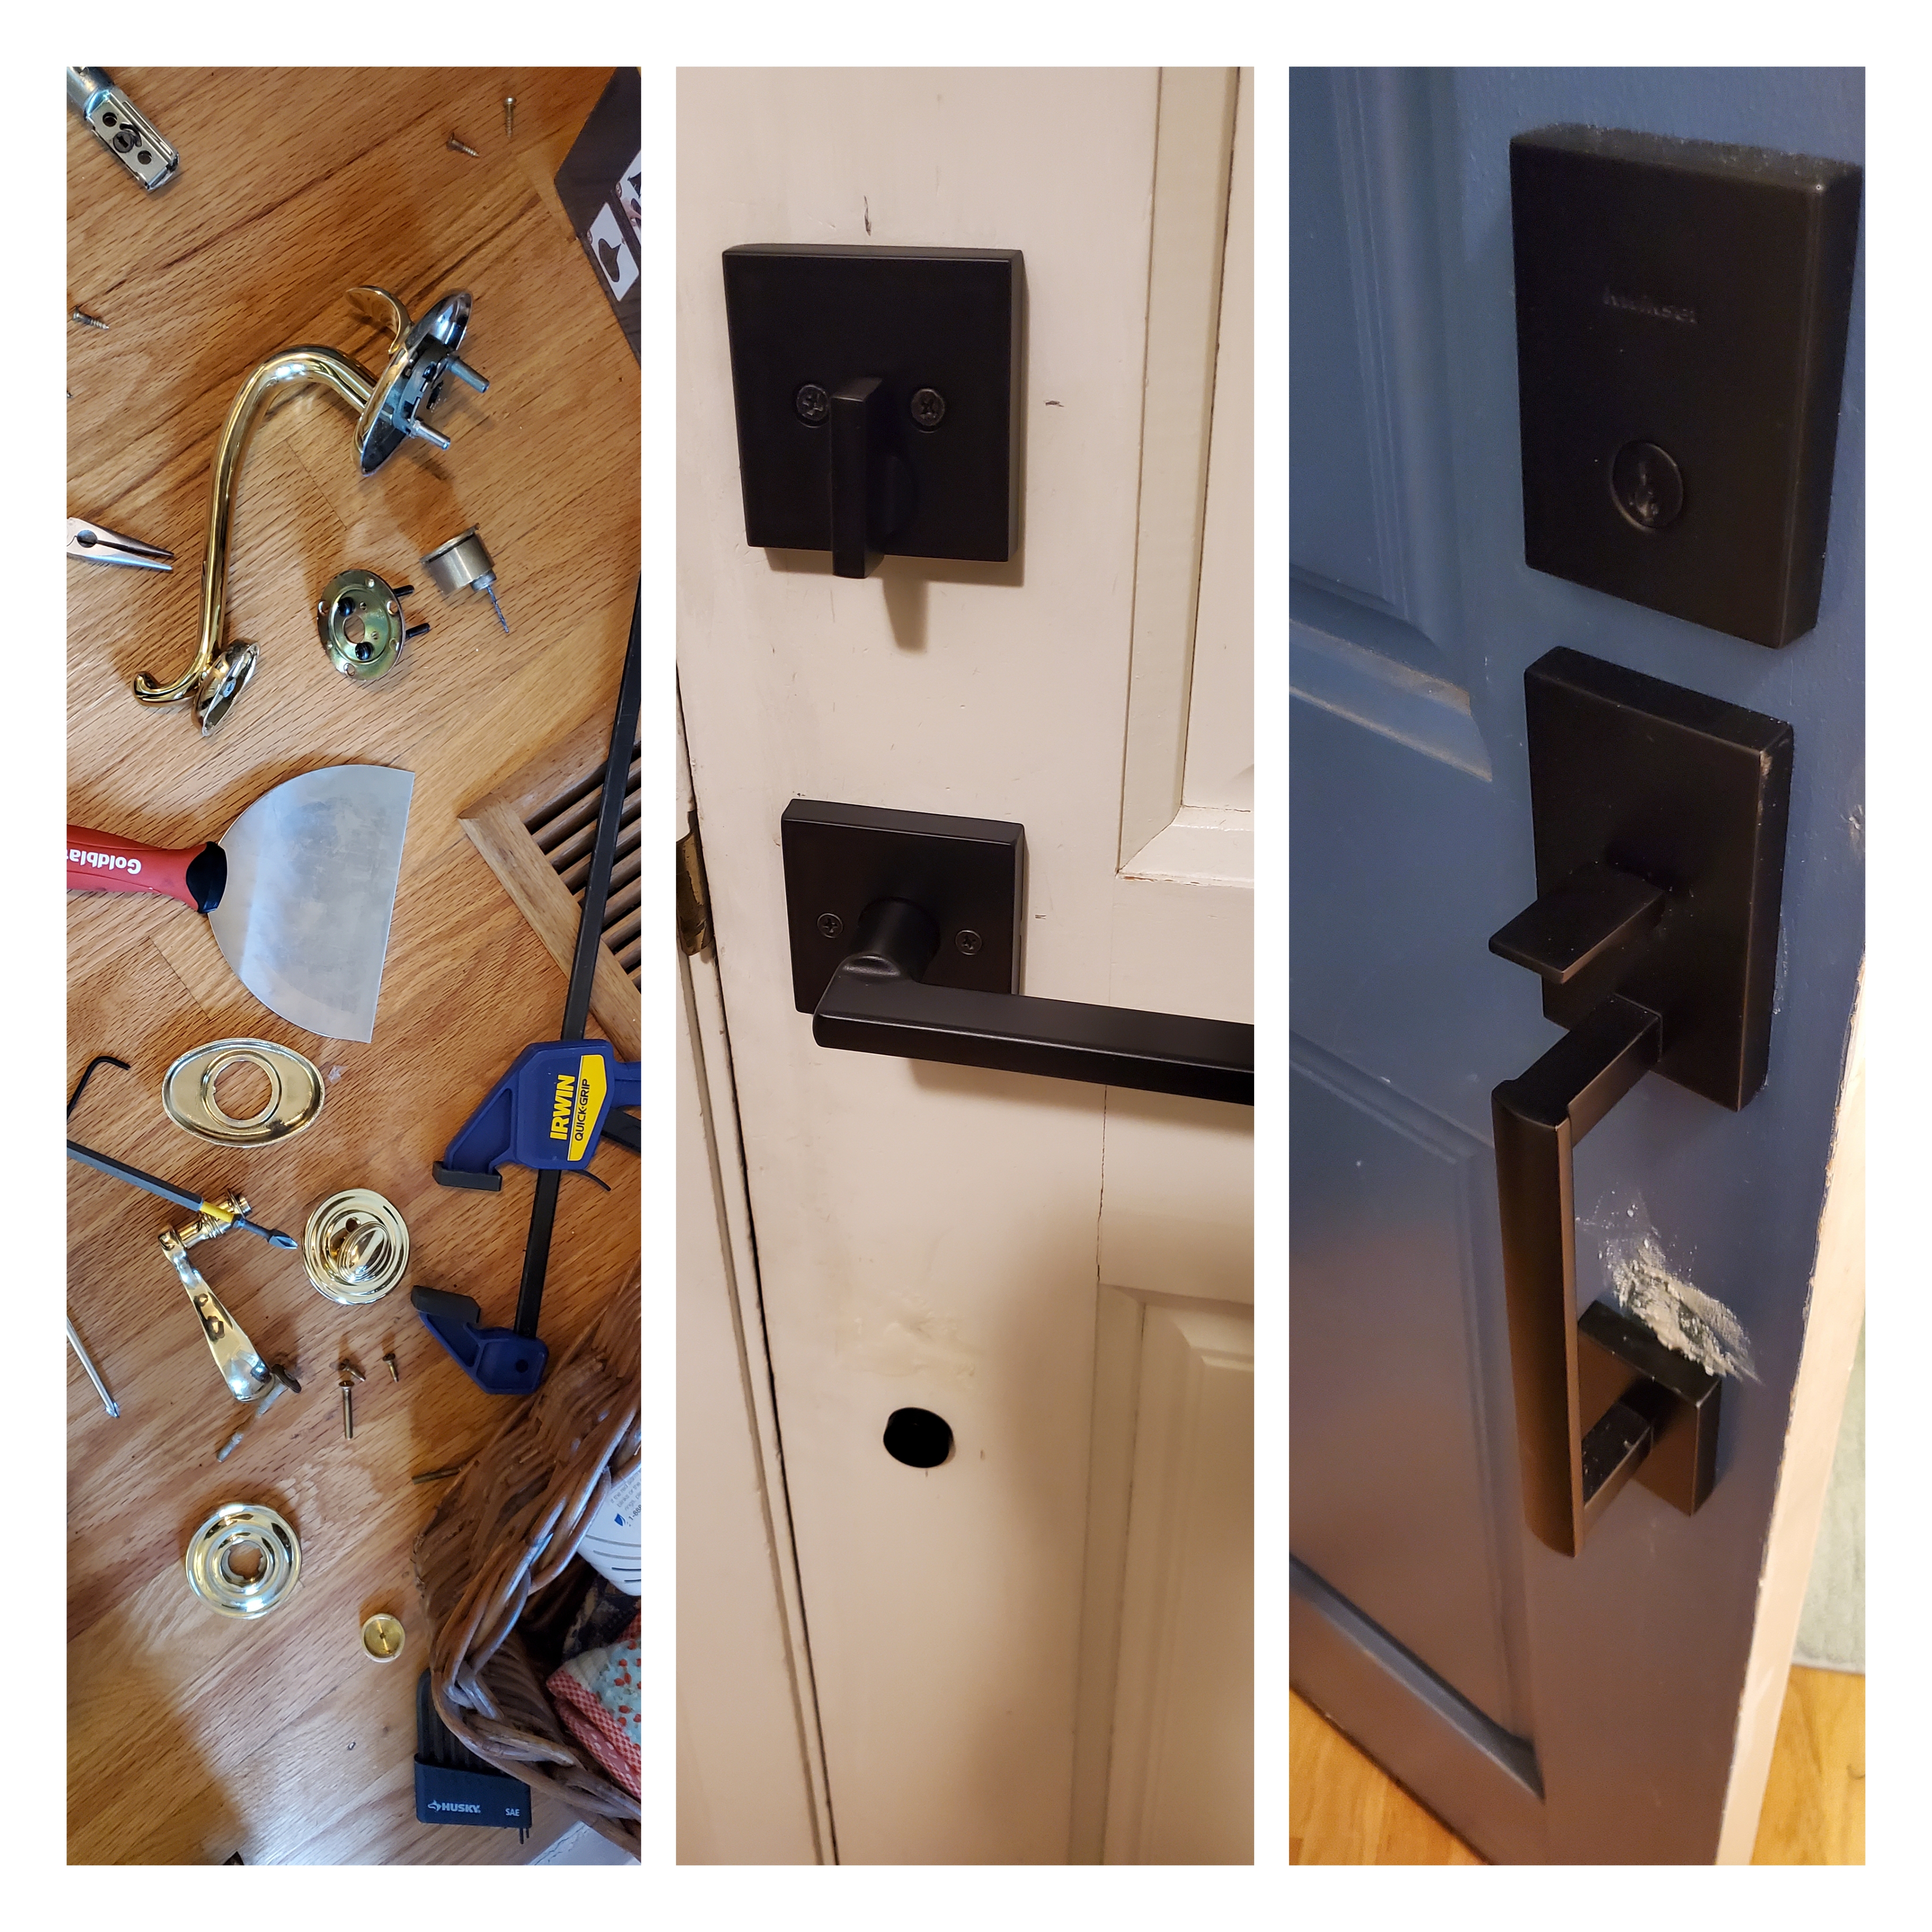
Front door started to show fatigue from this summer – Lever failed then Deadbolt started to not release the key when it needs to release. So had to let the old set go and welcome new set which was ordered at the perfect timing
올 여름부터 시름시름 앓던 현관문 – 정확하게는 돌아오니 맛이 가있었다…처음에는 레버 스프링이 망가졌는지 레버를 눌러도 복구가 안되어서 문을 잠그지 않으면 제대로 닫지 못하는 상황에 이르렀다… 마침 아마존에서 지켜보던 세트를 추가할인하는 행사를 해서 겨울즘에나 갈아볼까나 하고 새로운 세트를 미리 주문..
그랬더니 급기야 새로 주문한 손잡이 세트가 배달온 다음날 멀쩡히 잘 작동하던 락이 잠그고 여는데 열쇠를 먹는 현상까지 발생… 아마도 새 문고리가 배달이 와서 이제는 떠나갈땐가 생각한듯싶다…? 암튼 덕분에 계획에 없던 문고리 교체 – 약간의 삽질은 이 문고리가 원래 구멍이 하나 있어서 손잡이를 고정시켜주는데 새로온 문고리는 위치가 살짝 달라 결국 새로 구멍뚫고 원래 구멍은 일단 막아놨다…
덕분에 조만간 문도 다시 칠할듯…T_T
2022.10

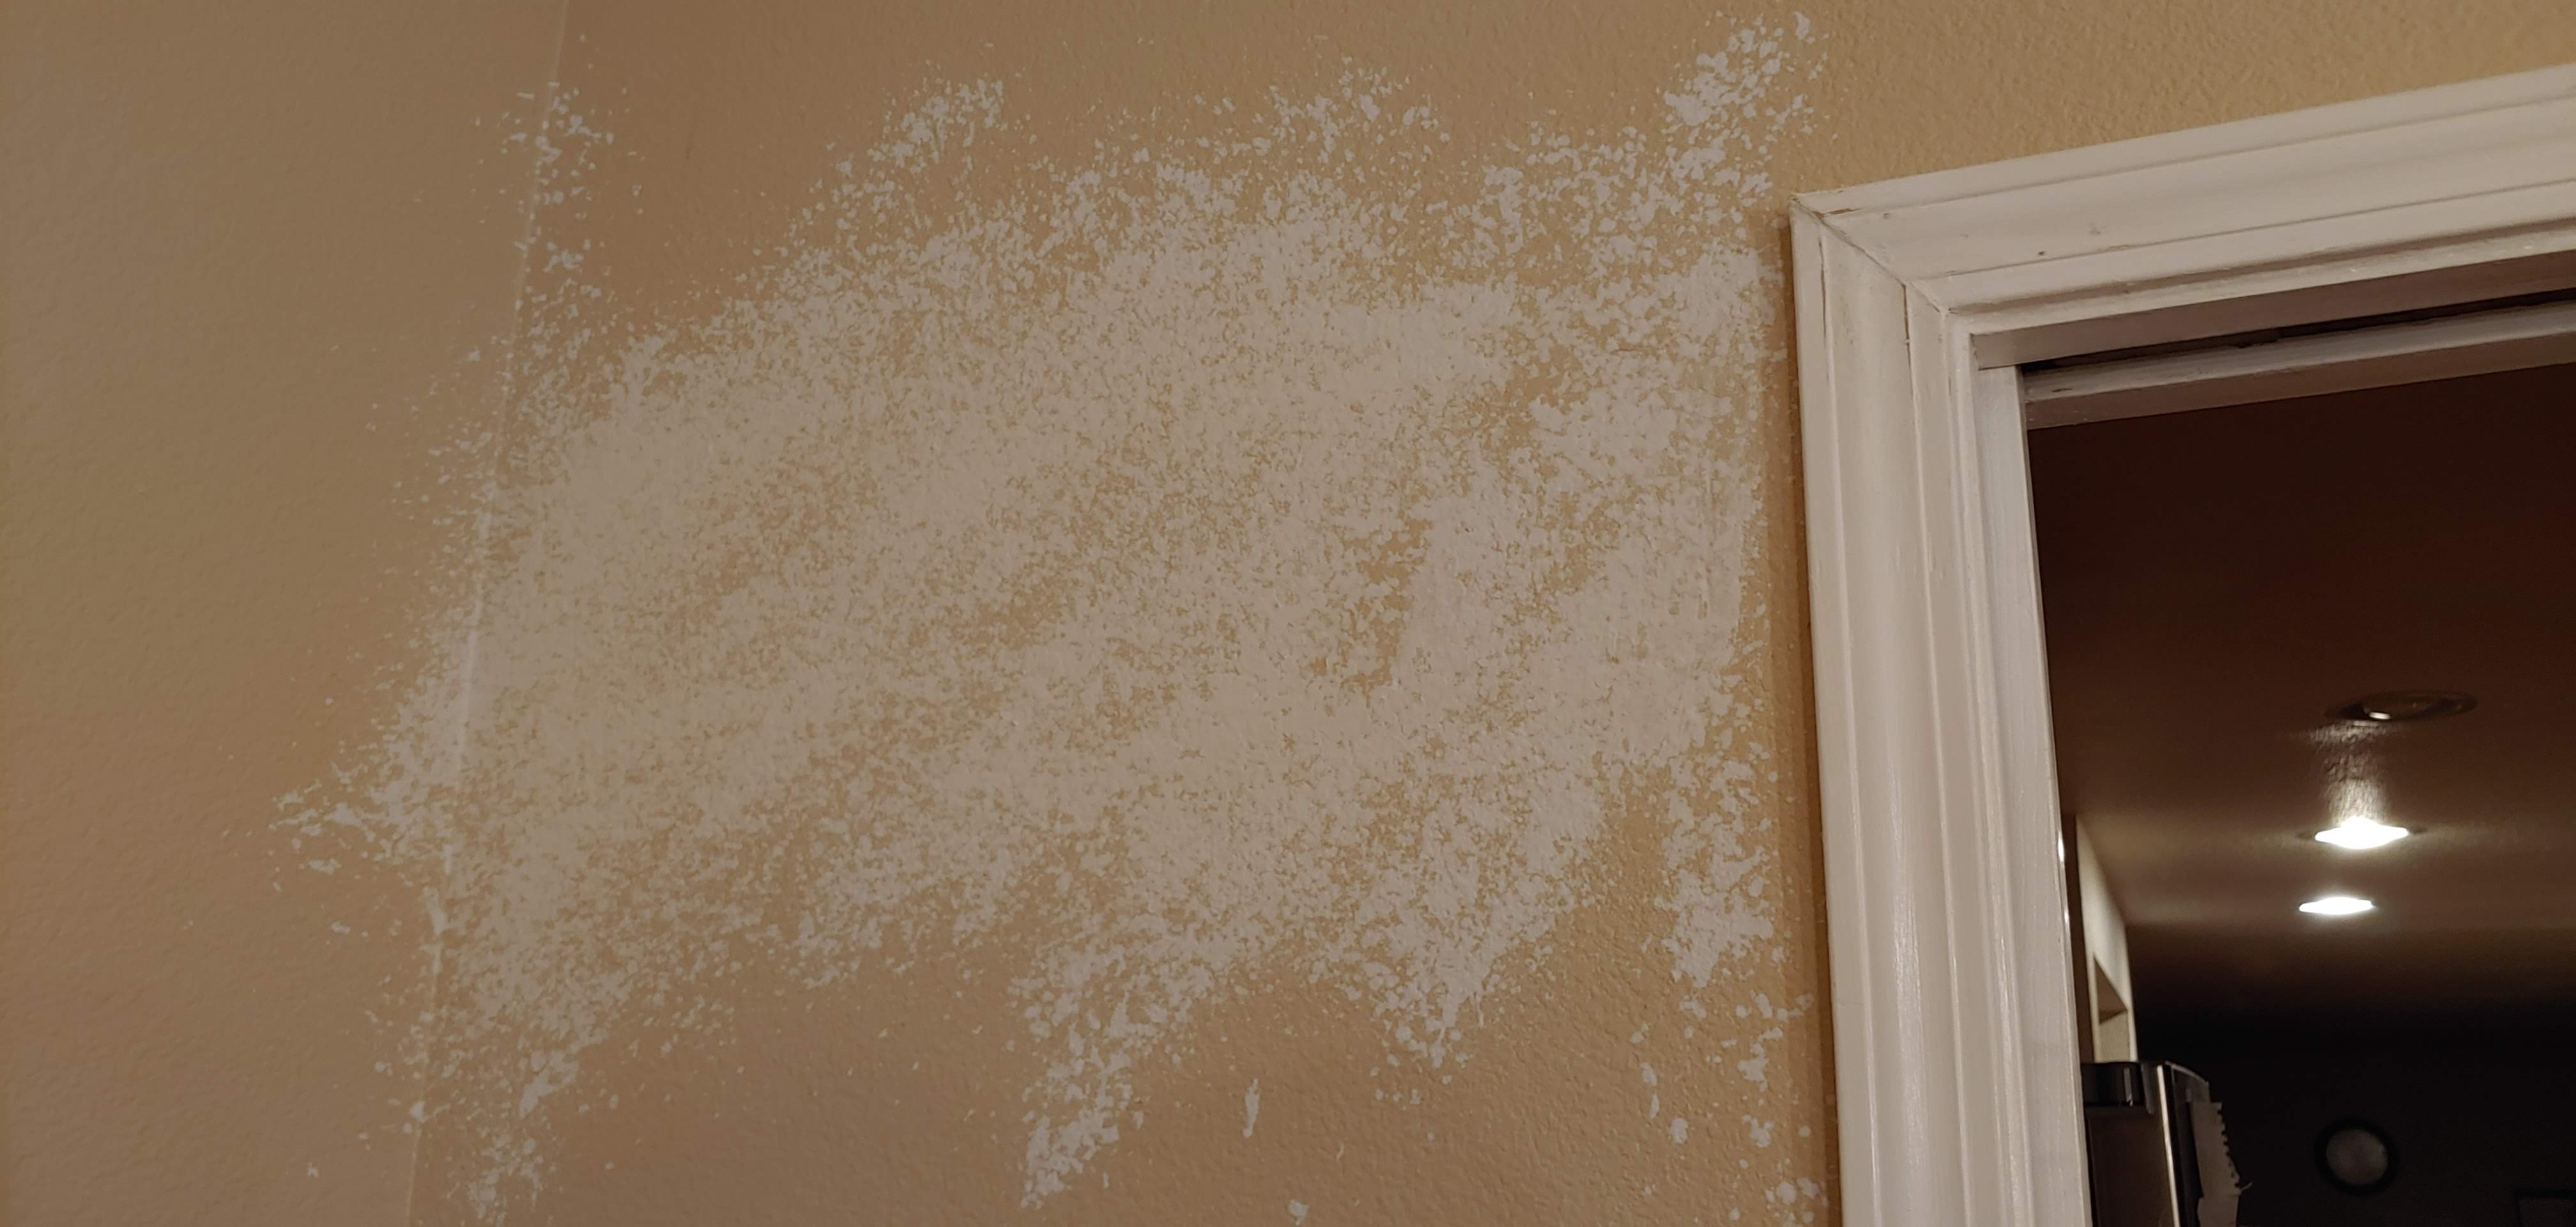


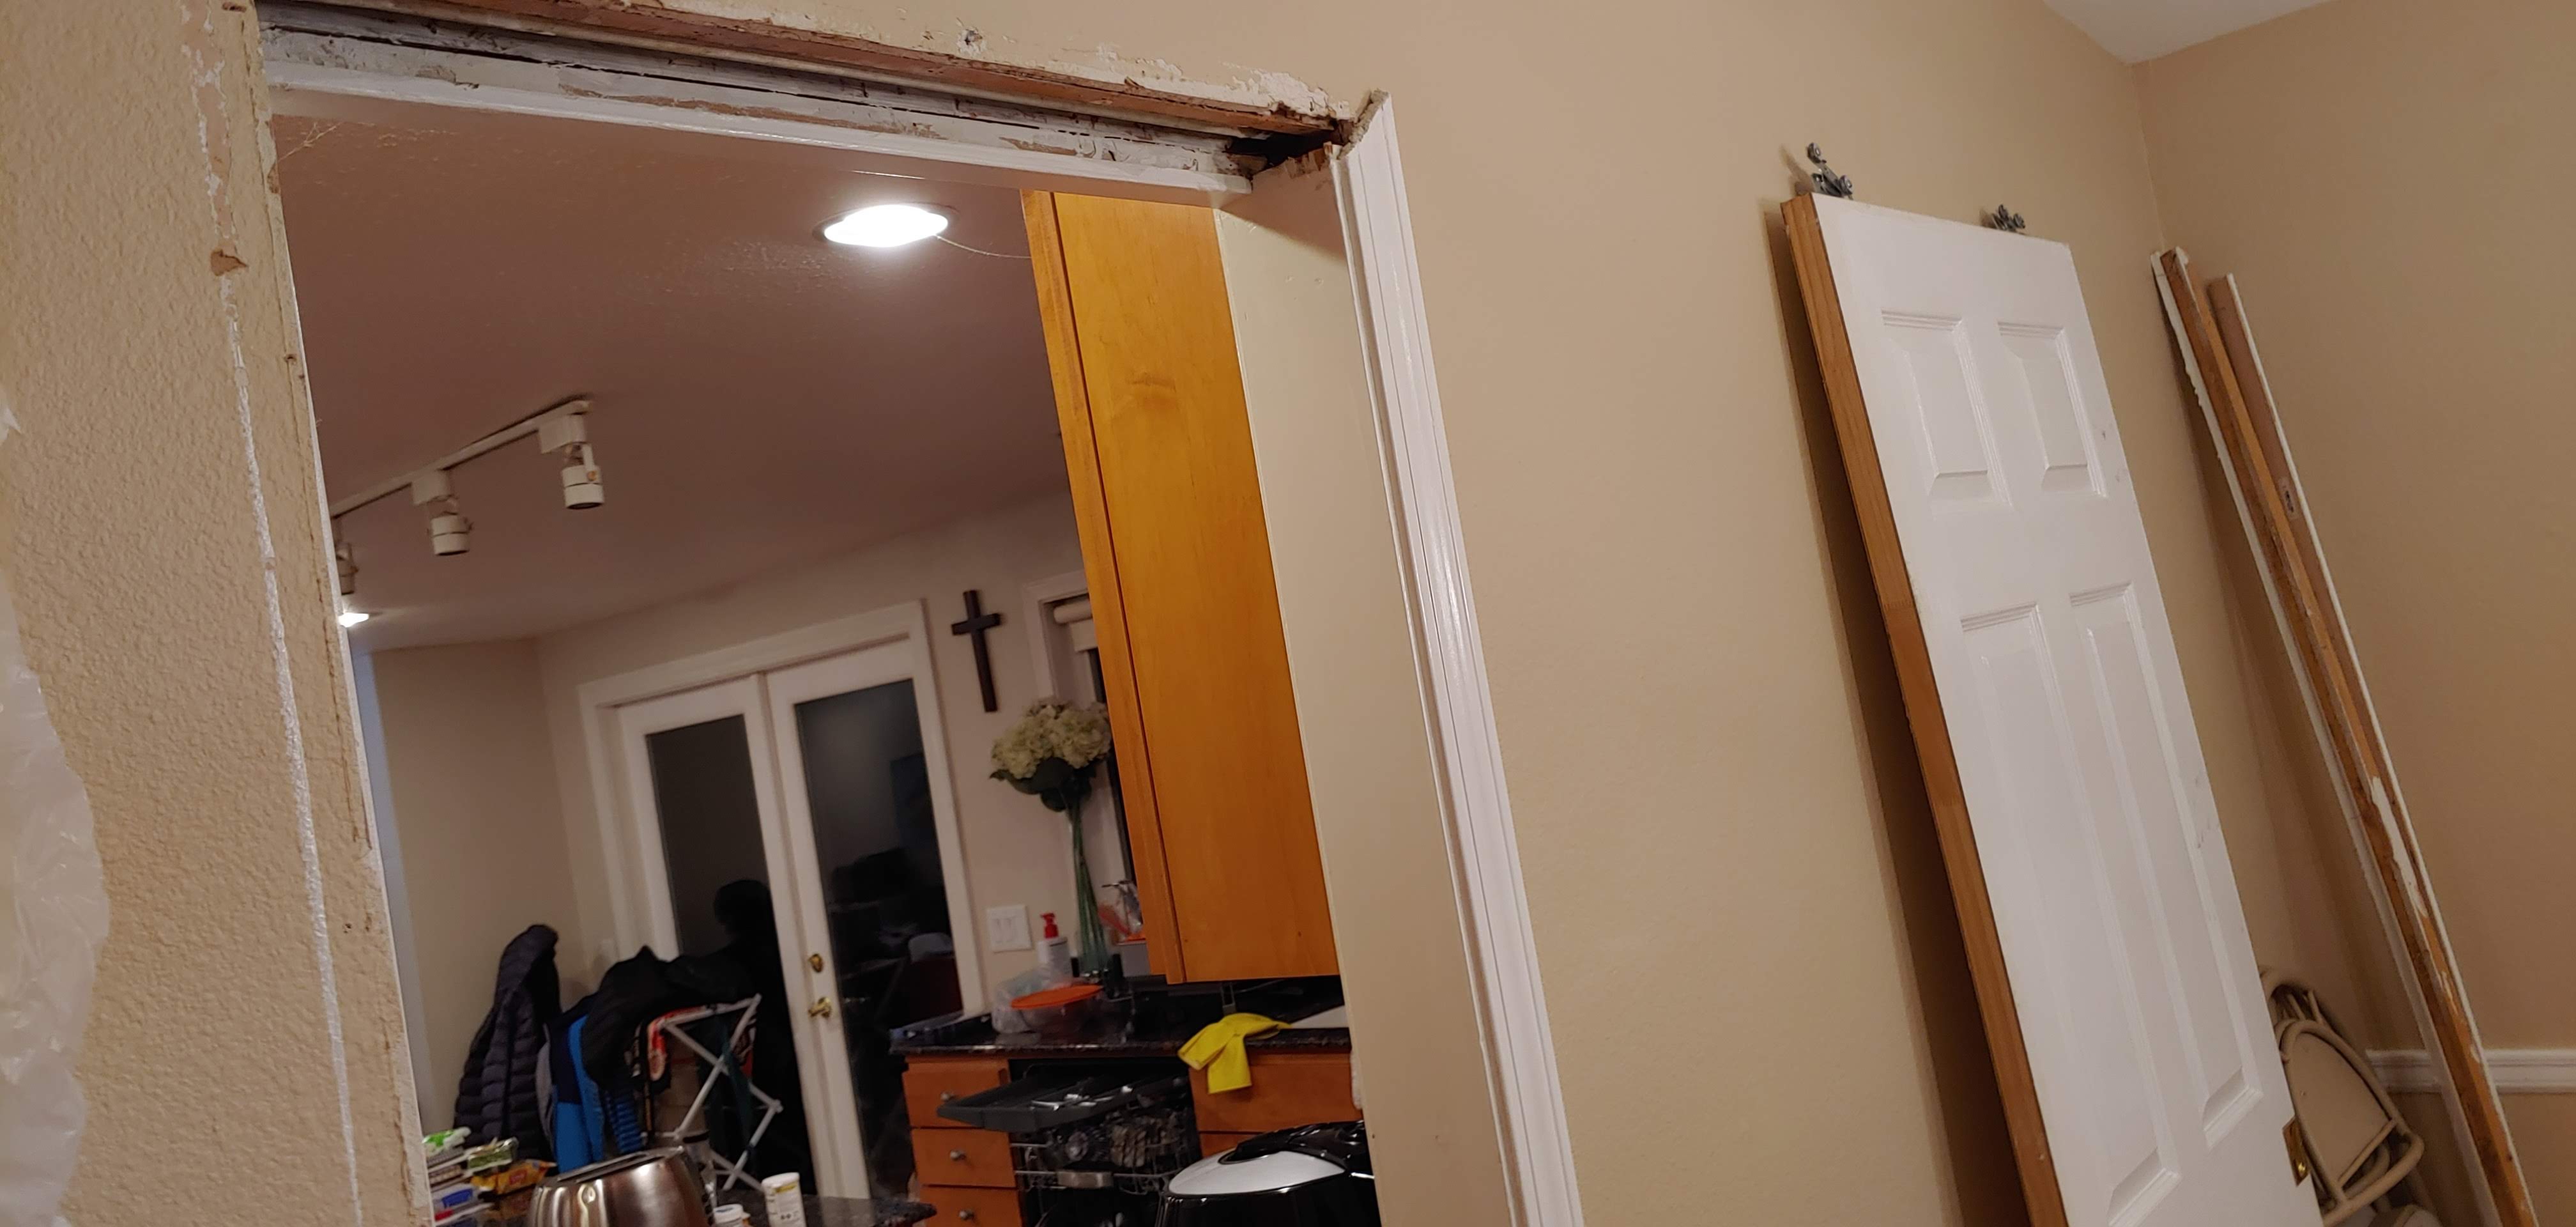
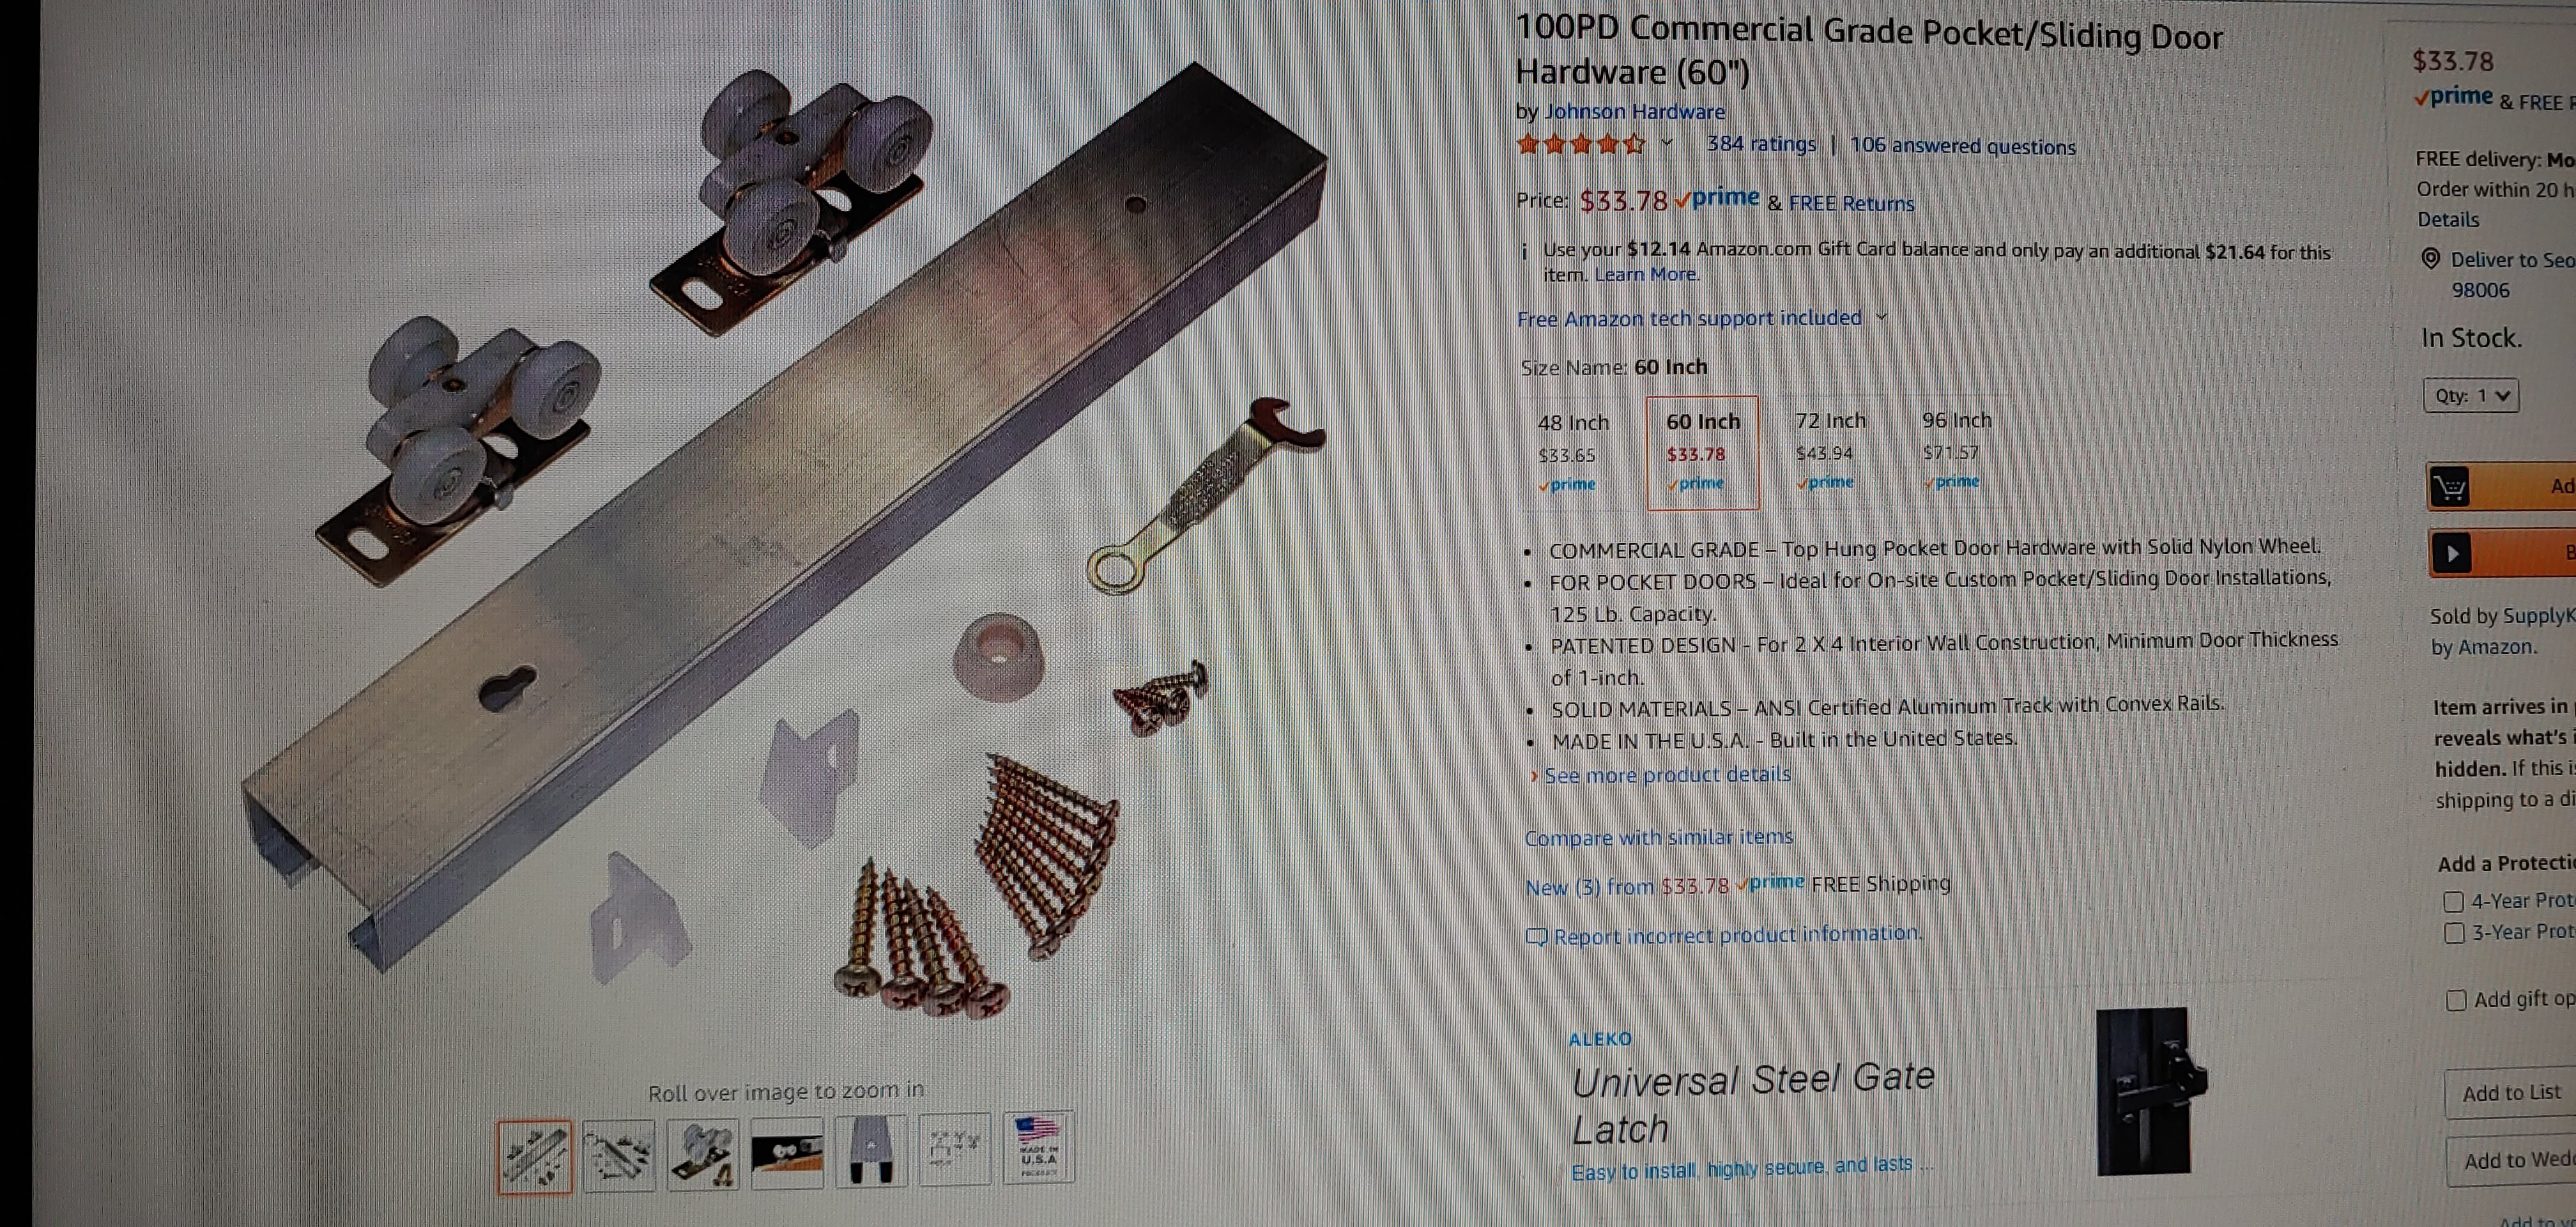
Our pocket door has been broken from the 2nd month after we moved into this house after some kids attempt to push it instead of slide it.. 😦
Well – my first attempt, after about a year of sad hanging, was changing the roller but only lasted shortly – it lasted short as the side-rail was bent and didn’t completely closed the door as door was taller than it should be – out of adjustable range
After some thoughts and research finally I decided bought the new rail set and decided to cut off the wall to exchange the rails – Journey started…
Ha… what a journey!
2020.1
이사온지 두달만에 애들 친구들이 와서 밀고 닫아야할 미닫이문을 밀어버리는 만행의 과정에서 망가져 마음 한편의 아픈 손가락이었던 우리집 포켓 도어 (미닫이문)… 밀고 닫는 과정에서 자꾸 레일에서 문이 이탈하고 완전히 닫히지도 않고….
몇년전엔가 한번 작심하고 롤러를 교체하는 걸로 고쳐 보려했는데 얼마안가 다시 또 실패.. 결국 레일의 문제였다.
그냥 문 뽑아내고 매꿔버릴까, (문기능 상실) 외부에 barn style 미닫이문을 달까 (혼자 뜬금없이 bran style) 고민하다가 결국 그냥 있는 문을 수리하는게 제일 보기 좋겠다고 결론 내렸다…
암튼, 결국 Youtube와 이런저런 인터넷의 정보를 조합한 결과, 레일의 문제는 교체가 답이고 교체하려면 결국 벽을 뜯어야 한다는 난관에 봉착하다… 결국 저질렀다.
결국 몇달간을 거쳐 이것저것 사고…ToT, Youtube 보면서 연구한 결과 나름 아픈 손가락을 어쨌건 고쳤다,,휴… 그리고 이젠 왠만한 미닫이문 문제는 다 해결가능한 수준으로 등극..ㅋㅋㅋㅋ
2020.1

