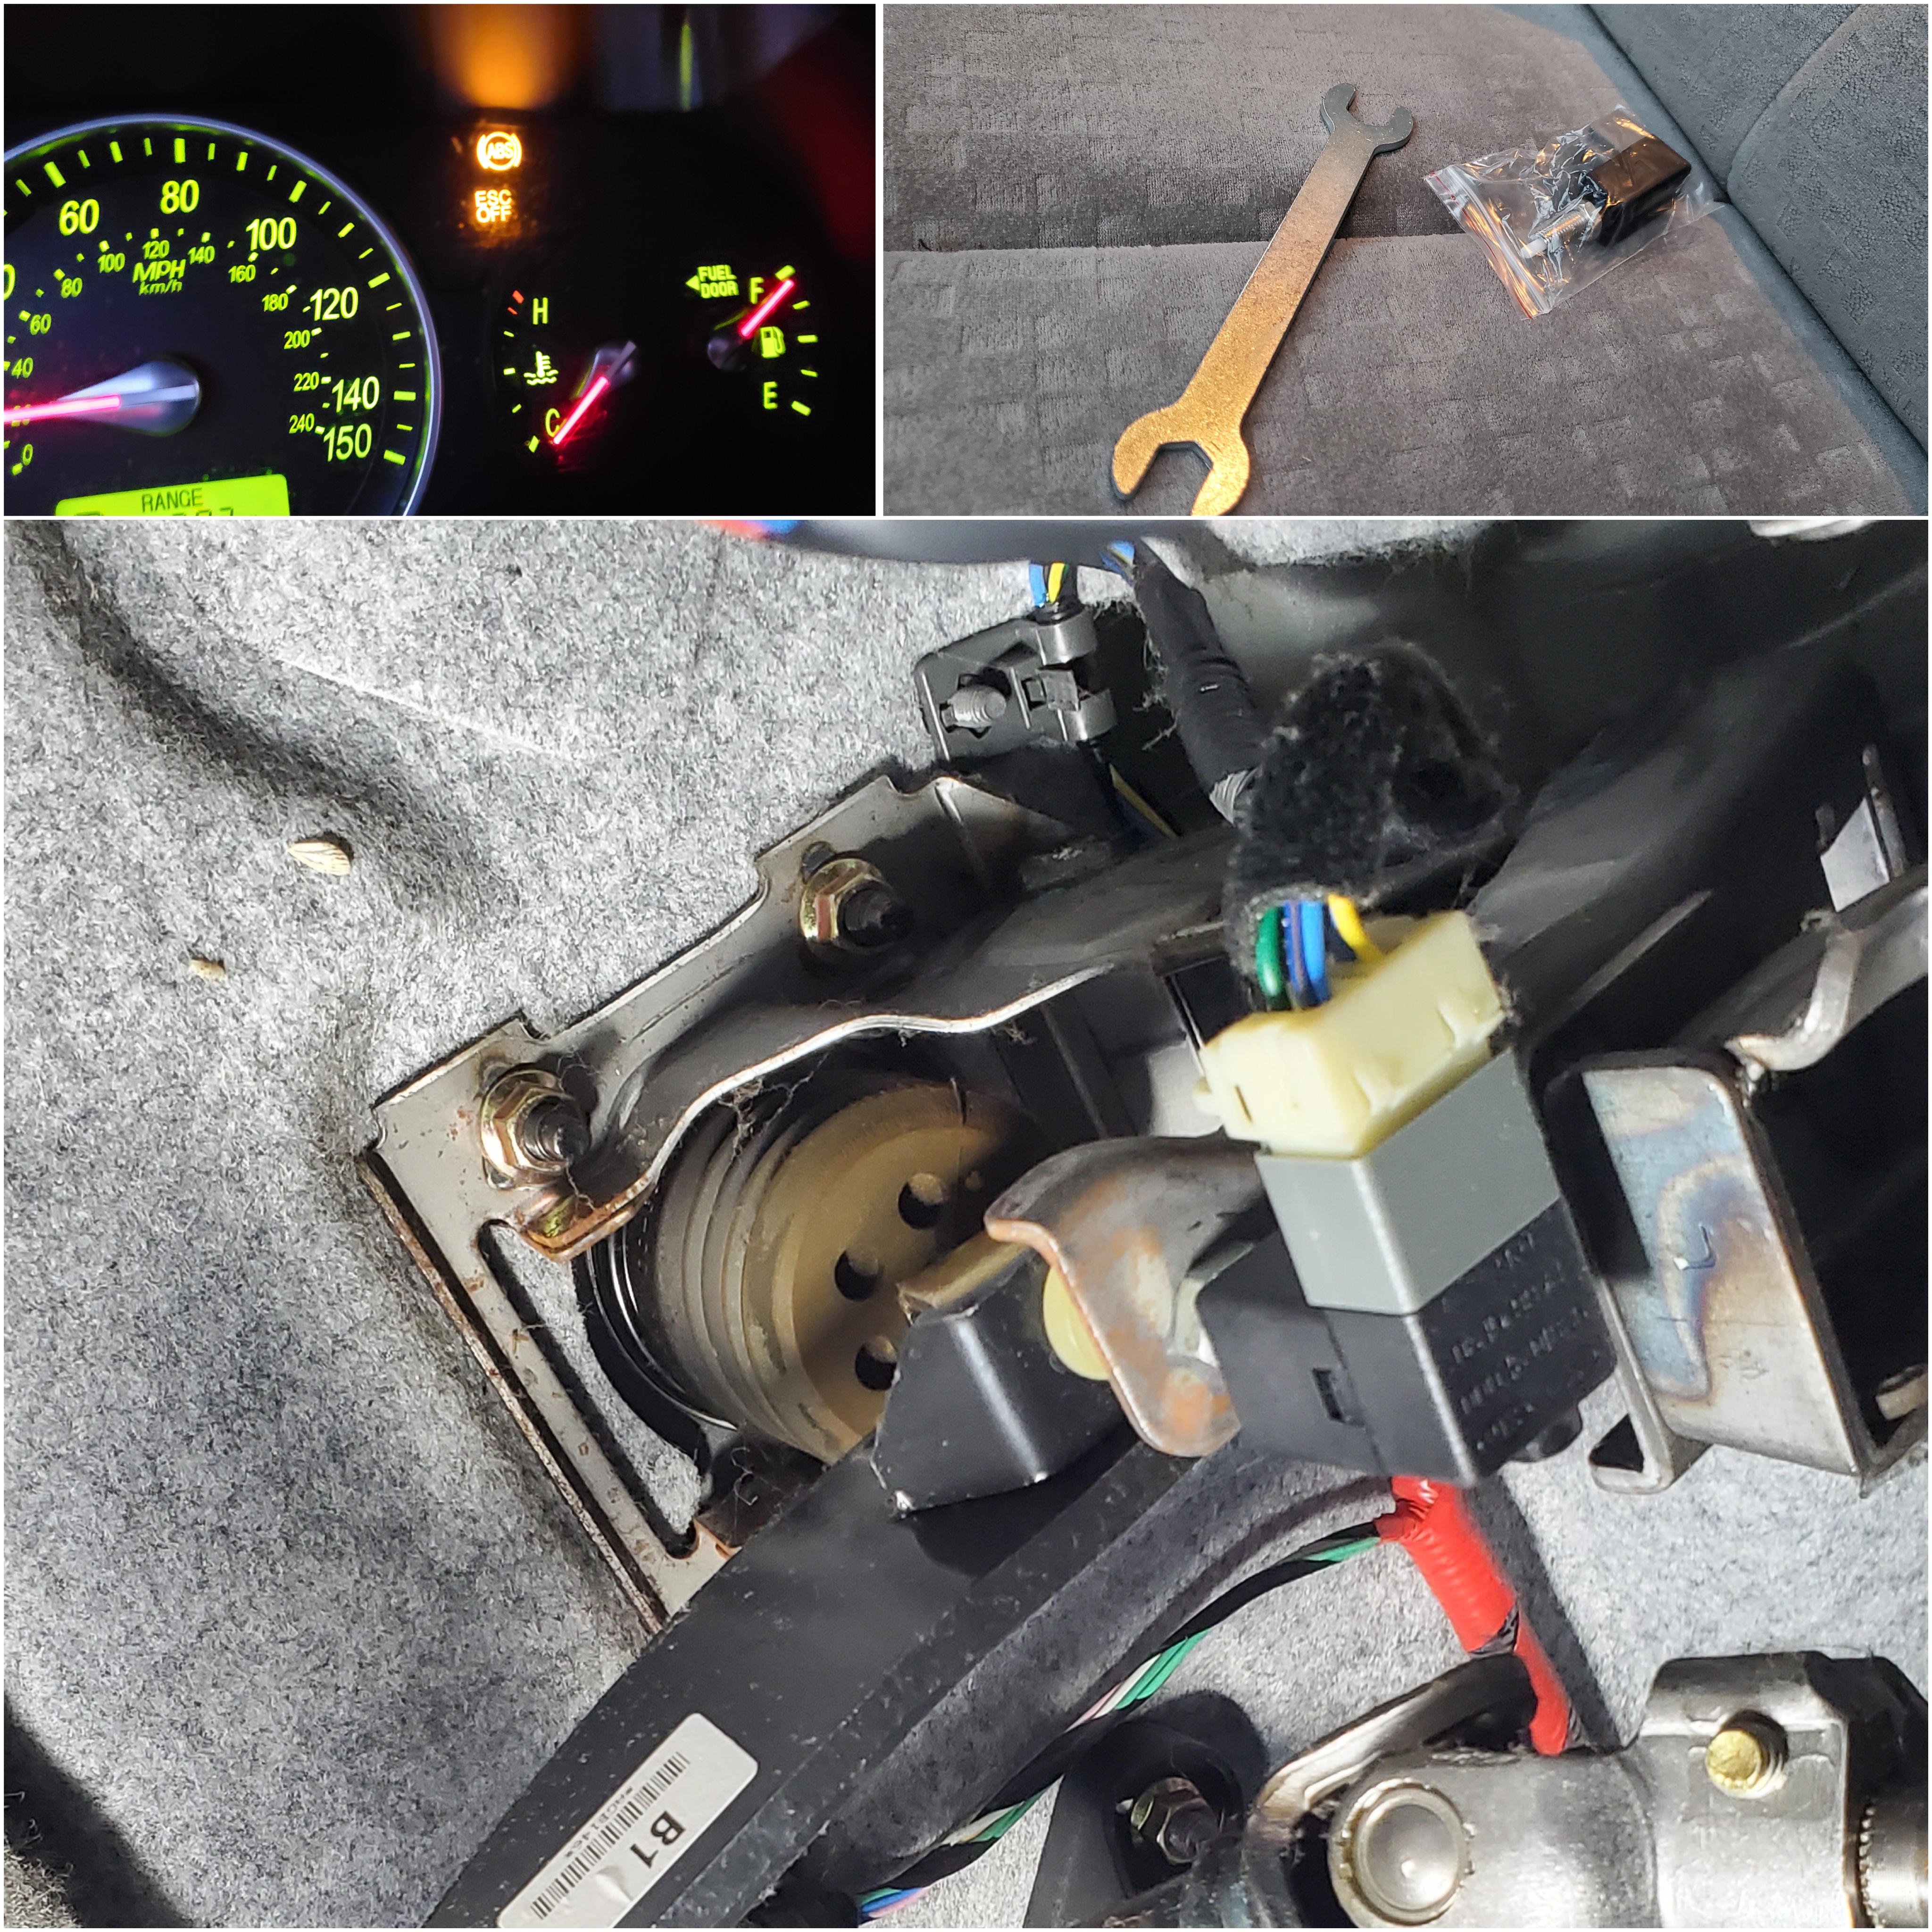
우리 소둥이 몇년전 즈음부터 가끔 ESC Off & ABS light이 계속 왔다갔다 했다… 뭐 사실 ABS를 쓰거나 ESC를 Off해야할 길을 다니지는 않으니 그냥 무시하고 다녔는데 얼마 전부터는 -사실 대충 팬데믹 이전인듯…- 아예 시동걸고 몇분만 달리면 바로 켜지고 절대 꺼지지 않기 시작….
역시나 무시하고 다녔건만 얼마전 오르막 내리막이 많은 동네 길을 지나가는데 뒤에서 계속 나를 따라오던 차가 오지랍이 넓으신지 아님 -알고 보니 짜증이 난건지- 나한테..너 브레이크등이 안들어와 하고 신호대기중인데 구지 차문열고 내차 옆으로 뛰어와서 한말씀…ㅎㅎㅎ (지나고 보니 짜증인듯.. 브레이크도등이 경고도 하지 않으면서 속도 줄이는 걸로 보였겠지…ㅎㅎㅎ)
근데, 그말을 들으니 계속 신경이 쓰여서..-밤에 달리다가 누가 뒤에서 받으면 어쩌나..등등등…결국 후면 등 다뜯어보니 전구는 아주 멀쩡… 흠 그럼 뭘까 하고 유투브를 찾다가 차 회로도를 보다보니 Break Light Switch에서 ABS ESC 시스템과 후면 브레이크등을 제어하는걸 깨닫게 되면서 결국 break 등이 안나오고 ABS ESC 경고등은 결국 같은 스위치가 문제이겠구나란 결론으로 귀착 … 동시에 대충 최소 2년넘게 브레이크등 없이 운전한건가 하고 오싹..ㅋㅋ
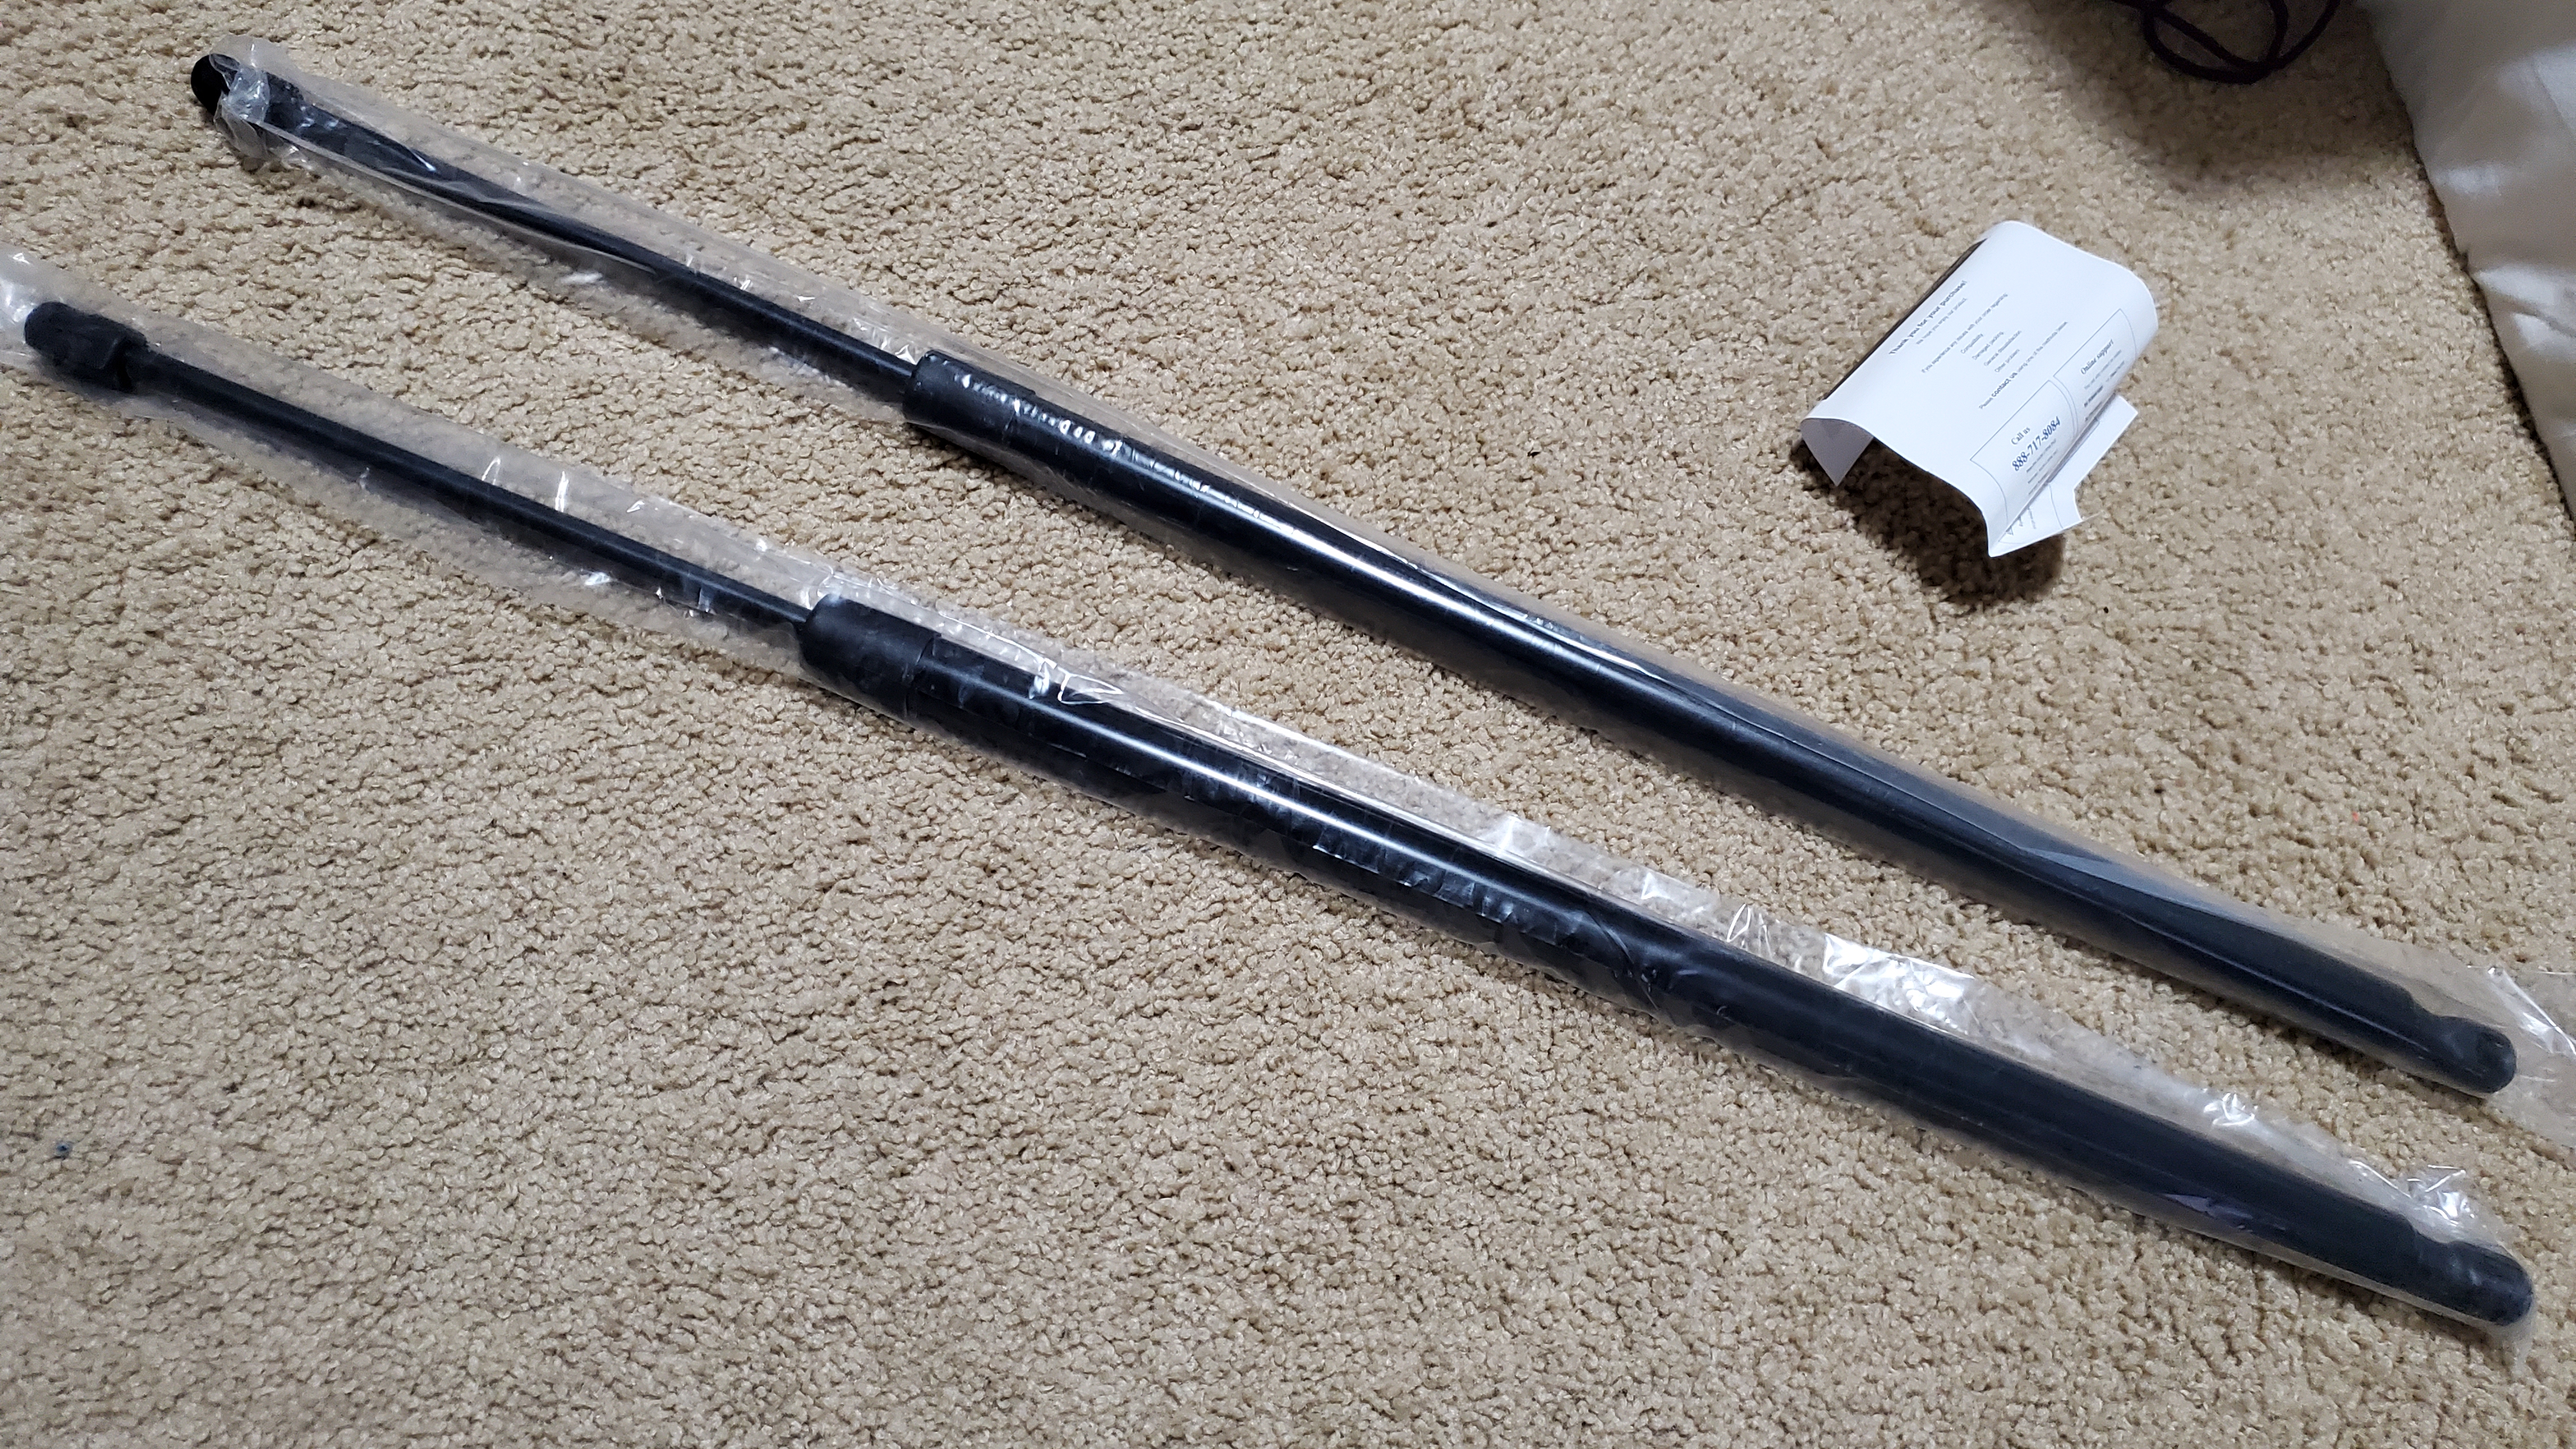
뭐 항상 그렇듯 YouTube로 열심히 공부하시고 (하 왜 비디오에선 항상 쉽게 될까?) … 문제는 이넘의 스위치는 브레이크 패드를 밟는거에 따라 연결되고 끊어지는 구조라 결국 브레이크 패드 뒤의 레버의 나사를 풀어서 교체해야하는 고행임
결국 생계형 인생 – Amazon으로 스위치를 주문하고 하필 쓸려고 보니 안보여서 14mm 렌치 하나 집앞 자동차 용품전에서 사서 대충 총 20불 + 운전석 바닥에 요가 자세로 등대고 누위서 밑에서 팔꿈치로 브레이크 누르고 한 30분 낑낑대다가 겨우 교체했다.
교체하고 나니 2배의 마음의 평화 (이젠 브레이크 밟으면 뒤어서 보인다+눈에 거슬리던 ESC ABS라이트 삭제..) + 대충 120-130불 save
After noticing flaky warning lights on and off of ABS and ESC Off light for a while at my aging Sonata- like years-, I have noticed those two lights have always showed up in dash from some point in past – maybe before pandemic. But as a cheap guy 🙂 I have ignored with the thoughts that I don’t need ABS nor ESC Off function anyhow… 😛
However, in last week after going thru hilly roads, one driver who was following me for a while finally walked to me at the stop light and told me “Dude your break lights are off!” then my stress from ‘fear of getting rearended by a car behind me at night’ started 🙂
As a cheap and stupid owner, I thought it was a bulb problem 🙂 – I had my Odyssey’s bulb fried on both sides of rear for a while 🙂 However, the bulbs at Sonata were absolutely clean without any sign of problems.
After some YouTube research and looking at Sonata’s wiring diagrams – I realized break lights and ABS ESC switch are all connected and controlled by the switch connect/disconnect on the lever behind the break pad.
So as a cheap and easy guy, I fall into the trap of YouTube always being easy 🙂 finally ordered the part from Amazon and end up rushing to auto part store to buy a “when needed not easily found” 14mm ranch. After struggling with acrobatic posture of throwing myself at the bottom under the handle for good 20 minutes and finally replaced the break switch.
Now, here comes the peace of no fear of rear-ended and no irritating dash lights plus likely I saved some good $120-$130 cost for replacing this part at auto shop. 🙂
2022.10