거의 1년전즈음 한쪽 머리위 불이 나갔다…똑딱이 불인데 아무리 똑딱해줘도 불이 안들어옴… 뭐 옆에 불이 들어오니 괜찮다 하고 살았는데 그래도 영 불편할때가 자주 발생하여….. 역시나 한참을 research한끝에 수리..
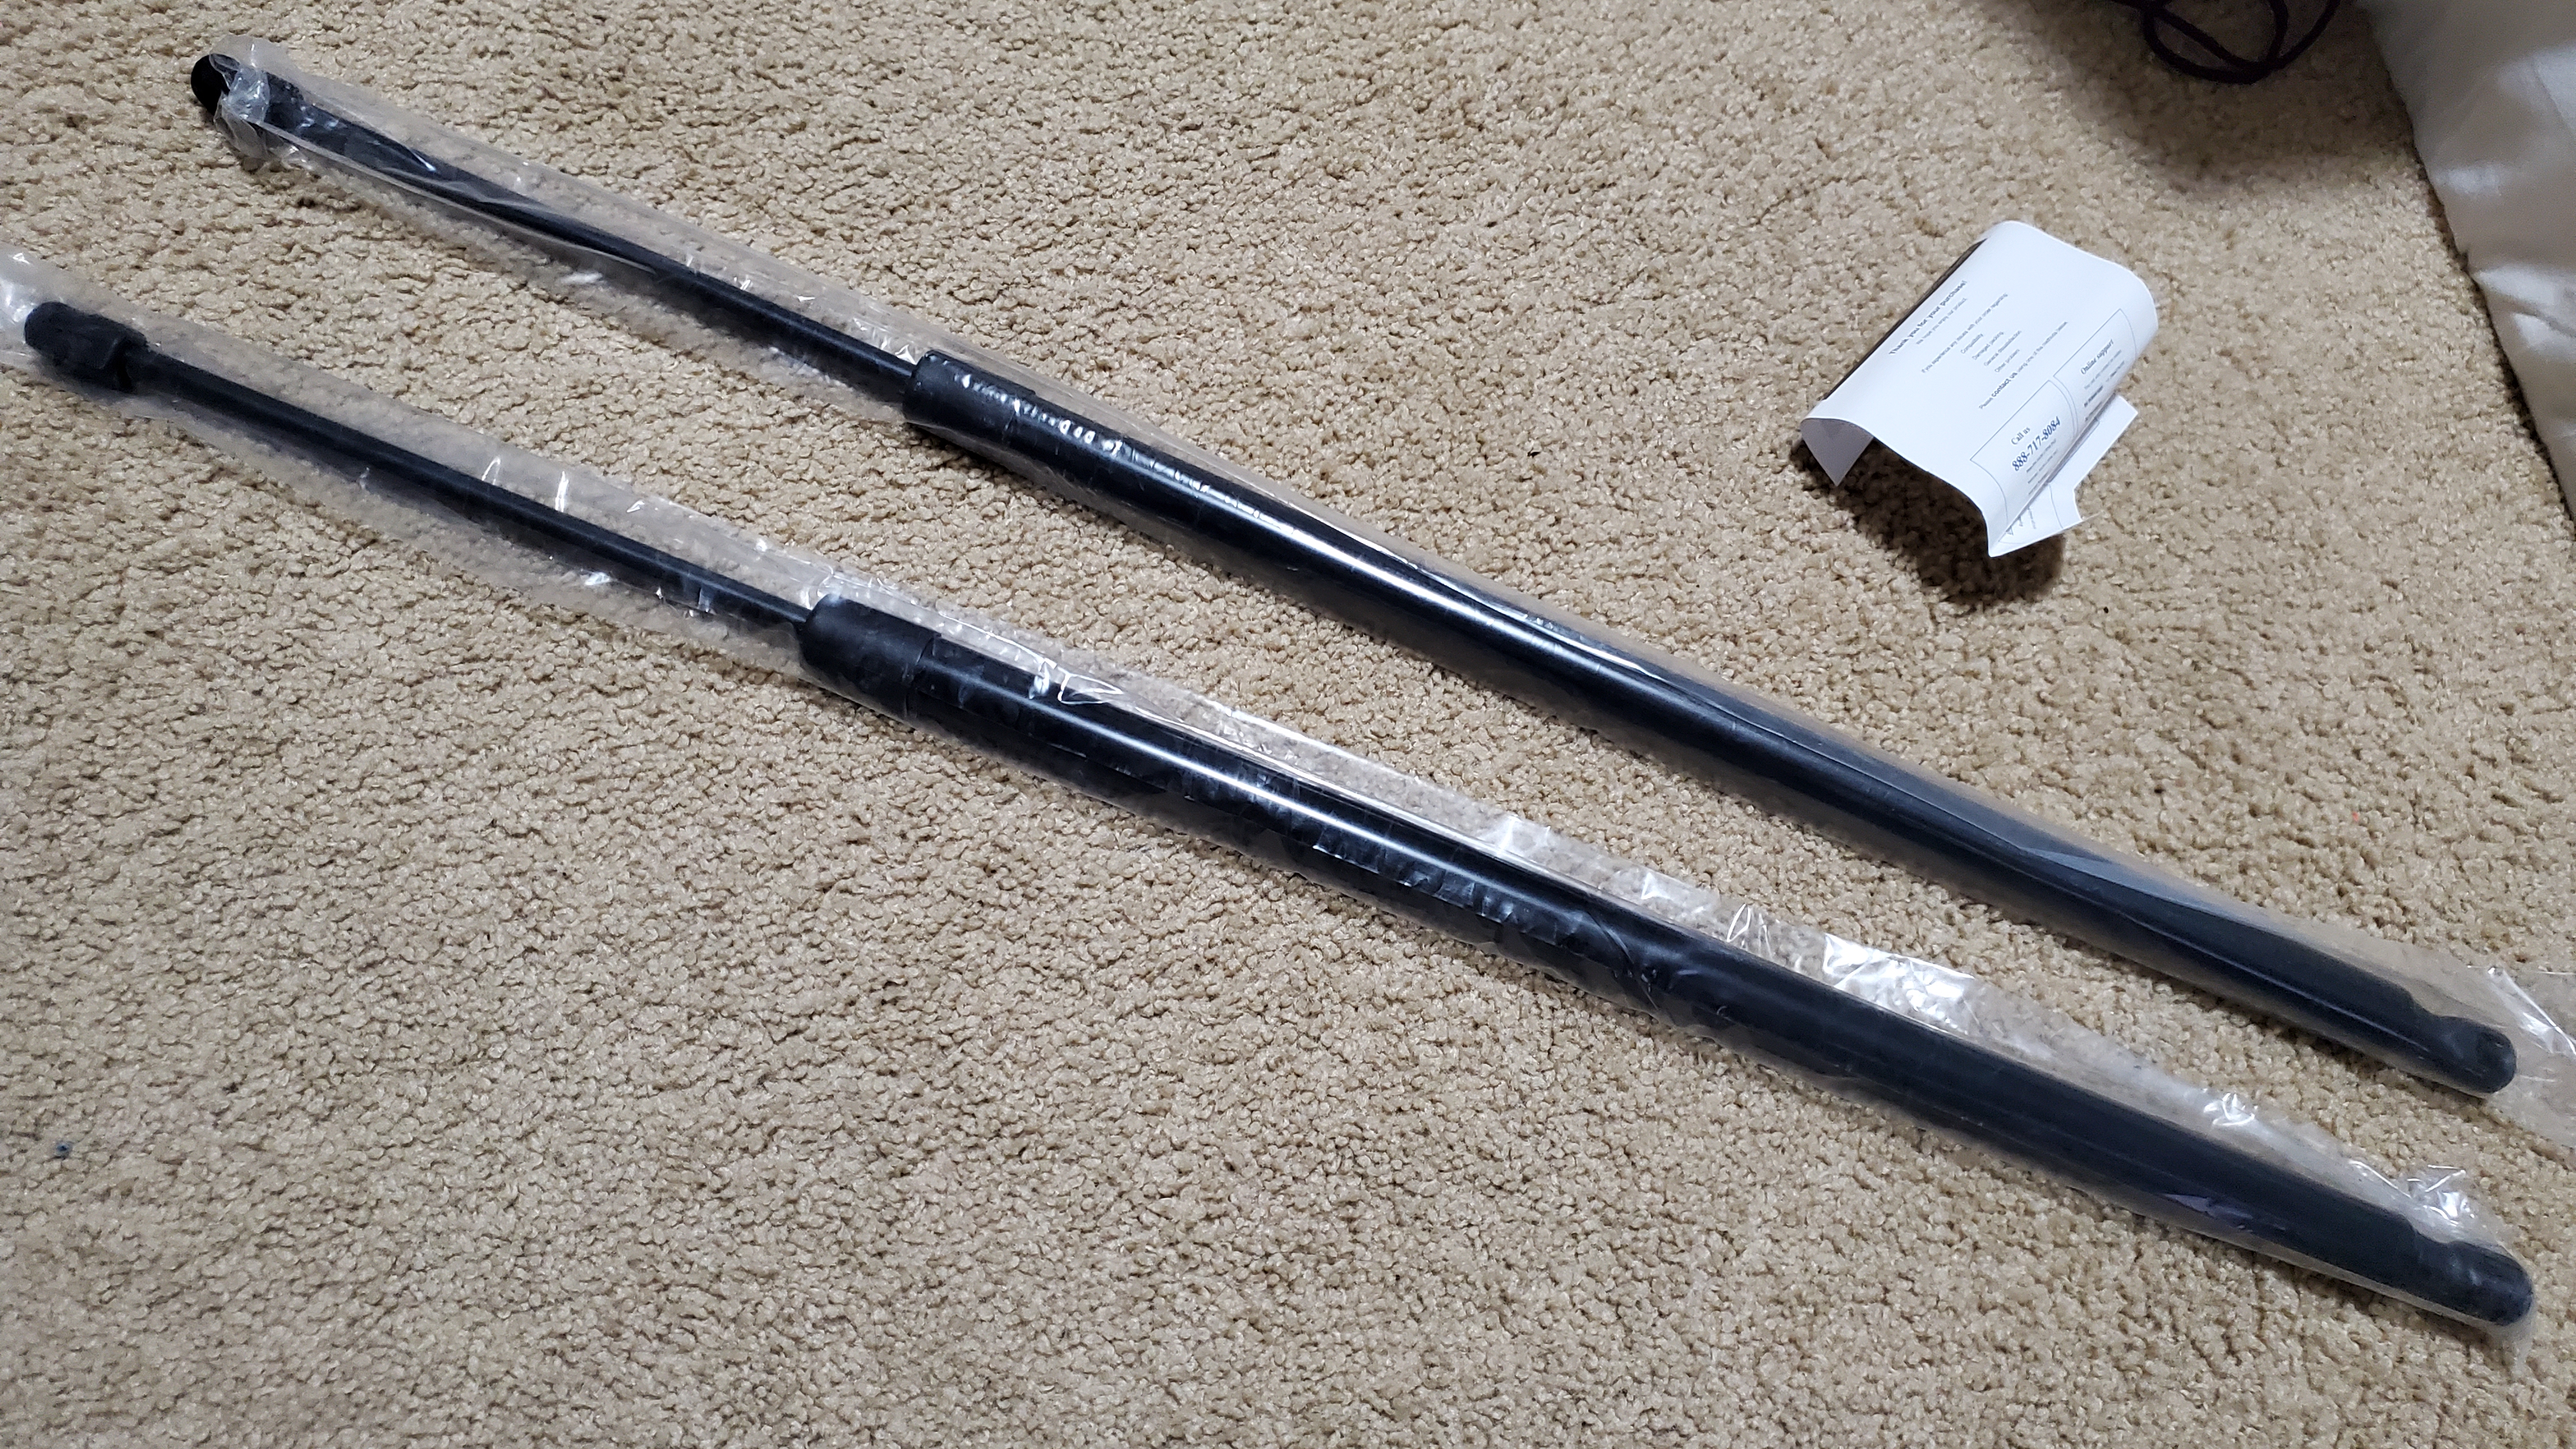
단순하게는 그냥 전구가 나갔겠거니 했는데 찾아보니 오디세이의 대부분 저 light가 나가는경우의 99%는 Fuse문제도 아니고 전구 문제도 아니고 똑딱이 Switch가 불량이 나서라는 말을 듣고 Switch+LED전구+꺽쇄까지 묶어 파는 패캐지를 15불 주고 구입… 실행에 옮겼다.
과정은 말로는 + Youtube 비디오로는 단순…(허나 실제로는 step하나하나 Youtube에서 하는걸 보는것 보다는 보통 2배의 시간과 노력이 필요하다는게 함정..ㅋㅋㅋ)
- Plastic 꺽쇄로 이쪽 저쪽을 쑤셔서 양쪽 껍데기 제거
- 스위치를 교체하려면 unit을 떼어내고 뒤쪽에서 lighting unit을 떼어내는게 쉽기 때문에 일단 껍데기 안쪽에 나사 두 개(+), 선글라스 넣는 통 천장에 2개의 고정 나사(5/16 socket), 도합 총 4개의 나사를 제거하면 전체 unit이 분리가 된다.
- 이 unit에 연결된 cable이 두 개 이것들을 떼어내면 이제 두팔 벌 안서고 편하게 작업할 수 있다.
- 그리고 전구 부분 sub unit을 꺽쇄로 살살 밀어서 분리.. 여기에 switch가 달려 있다..
- 비디오에선 쉽게 switch를 빼내지만 결국 제일 가는 안경용 micro 1자 드라이브로 뒤쪽에서 살살 밀어내서 뽑아냄…ㅎㅎ
- 새 switch 투입 – 그다음에 전체 조립전에 일단 케이블 꼳아서 testing – 아 얼마만에 밝은가…ㅎㅎ
- 일단 socket나사가 끼우기 어려우니 (뺄때도 좀 고생…) 일단 전구 쪽 나사 2개 고정 + 뚜껑 재장착
- Sunglass통 천장의 socket나사 고정
뭐 총 30분 낑낑대고 팔좀 아프고 해결…ㅎㅎ 아마존 또 윈…..ㅎㅎ
자 이제 남은건 새 스위치 하나 & LED 전구 2개 – 이김에 전구도 양쪽다 LED로 바꿀까하다가 그냥 냅둠.. 이건만 색갈 다르게 하기도 뭐하고.. 전구 교체는 뚜껑만 떼어내면 할수 있는거라 언제든 쉽게 하기 때문에…
고로… Seattle 지역 지인들중 혼다차의 비슷한 부위로 고통 받는 사람 여러분 -혹 있다면..ㅋㅋ- 저 switch하나 남으니 공짜로 가져가세요…(비숙련공의 손길이 괜찮으시다면 교체 출장 서비스도 가능…ㅋㅋㅋ)
비록 좀 다른 부분이 있었지만 (내 모델의 Sunglass천장 나사가 Phillip이 아니라 socket이 되어 있었음) 여기 YouTube 비디오가 많은 도움이 되었다… https://www.youtube.com/watch?v=245Ak2jcK_I
After extensive research on cause of dome/reading light failure, I found out most of the case for Honda Odyssey not working on single side is likely the switch failure but not the burnout of bulb. This meant I will only be able to fix it, if I endeavor to open the whole unit and replace the switch.
After 30 mins of trial-and-error approach on detaching the dome/reading light unit and $15 package from Amazon (2 LED bulb+2 Switch+Plastic wiggling tool) finally changed the faulty switch – now back to brightness in Honda Odyssey 🙂
(It always takes 3x times which Youtube shows me to take 🙂 but I was able to fix! Training credit goes to this video https://www.youtube.com/watch?v=245Ak2jcK_I )
2022.5